A/C electrical problem

Tiny
HUMBERTO MORALES
  • MEMBER
  • 1999 TOYOTA COROLLA
  • AUTOMATIC
  • 125,000 MILES
A/C is not working not blowing cold air. Control panel lights are off, fuse keeps blowing out (7.5 A fuse in front of engine). Exchange A/C relay with horn relay but no success. There seems to be a short, but I do not know how to proceed. Any help is appreciated.
Friday, April 5th, 2019 AT 7:48 PM

6 Replies

Tiny
CARADIODOC
  • MECHANIC
  • 33,752 POSTS
We should find this relatively easy to figure out, but we can complicate it some with a trick I use to avoid blowing a pile of fuses. The only 7.5 amp fuse I found is shown in the first half of the diagram with the red arrow pointing to it. Remove that fuse, then insert two generic spade terminals into the socket. Use two small jumper wires to connect them to a 12-volt light bulb. A brake light bulb usually works well. That bulb will limit current to a safe value and protect the wires, and it will give you a visual indication when the short is present. When it is present and the circuit is powered up, the bulb will be full brightness and hot, so be careful what it is laying against.

You'll need to turn on the ignition switch, then turn the heater onto "defrost" mode. Observe if the test bulb gets bright. Next, switch it to AC mode and observe the light again. That will help narrow this down real quickly.

When the light is bright, you can unplug things and move harnesses around to see what makes the short go away. When it does, the bulb will get dim or go out. The best suspect is a shorted electromagnetic coil in the AC compressor's clutch. Find that and unplug the connector. If the bulb gets dim, the coil is the best suspect.

Once we see what happens up to this point, we can figure out if we need to go further. That same circuit feeds an electronic control module, which is another suspect.

These diagrams got posted twice. The last four are the complete heater and AC system. The first two are repeats of the two most pertinent to this problem.
Was this
answer
helpful?
Yes
No
Friday, April 5th, 2019 AT 9:49 PM
Tiny
HUMBERTO MORALES
  • MEMBER
  • 3 POSTS
I suspected also the AC clutch so unplugged the clutch connector and placed a new fuse. I proceeded to start the car and fuse doesn’t get blown but AC button light at the control panel keeps blinking. Now since I believe the AC clutch is bad, my question is, is it worthy to only replace the AC clutch or the whole compressor?
Was this
answer
helpful?
Yes
No
Monday, April 8th, 2019 AT 6:59 PM
Tiny
CARADIODOC
  • MECHANIC
  • 33,752 POSTS
On most models the clutch can be replaced separately, but special tools are usually required. You also have to look at whether you can gain access to the snap ring on the front. You might be able to remove the compressor and turn it enough to work on without disconnecting the hoses.

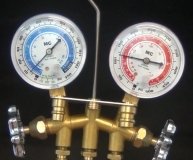
Replacing the entire compressor requires recovering the refrigerant, then pumping the system into a vacuum before recharging ti. You'll need the help of a professional for that.

Here's the procedure for replacing the clutch coil. I'm sorry that I had to copy the drawings and text separately.

DISASSEMBLY (COMPRESSOR REMOVED)
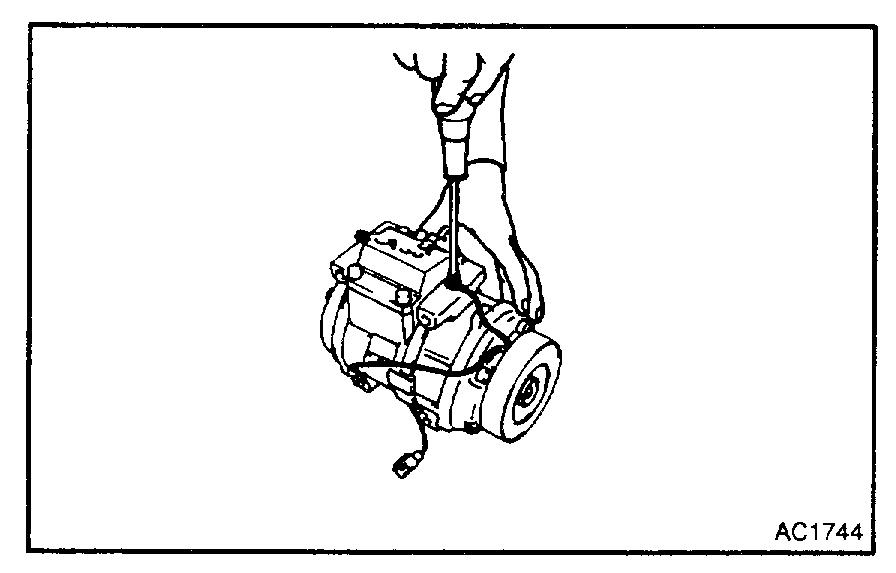
1. REMOVE PRESSURE PLATE

a. Using SST and a socket wrench remove the shaft bolt.
SST 07112-76060

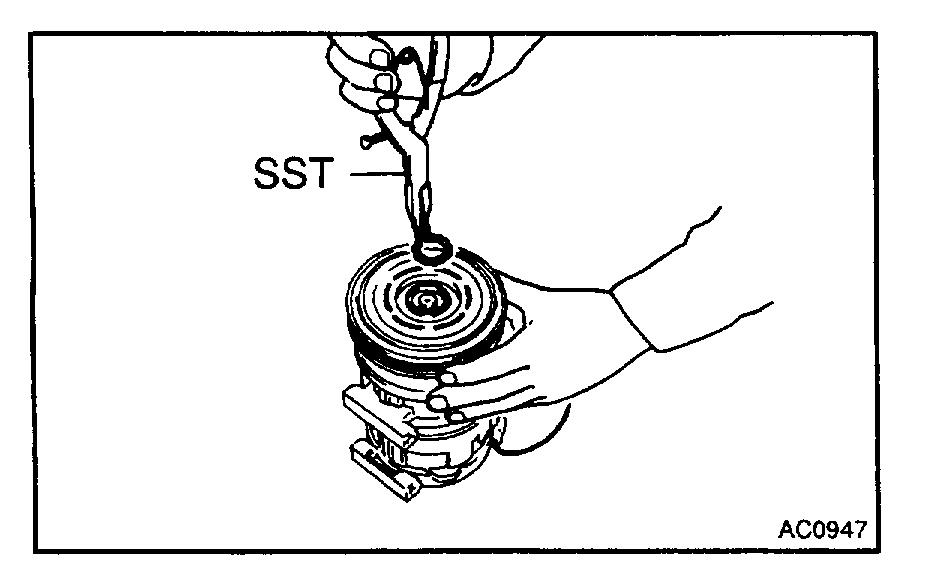
b. Install SST on the pressure plate.
SST 07112-66040

c. Using SST and socket wrench, remove the pressure plate.
SST 07112-66040, 07112-76060

d. Remove the shims from the pressure plate.

2. REMOVE ROTOR

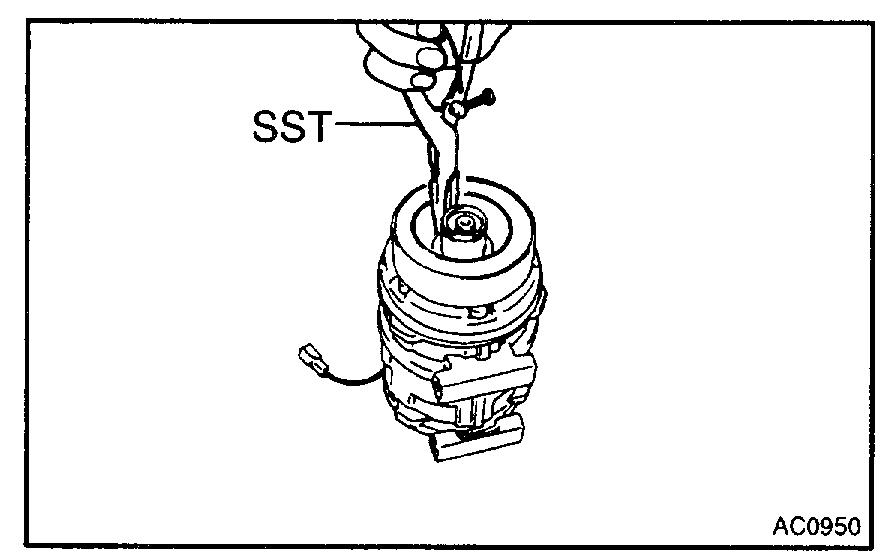
a. Using SST, remove the snap ring.
SST 07114-84020

b. Using a plastic hammer, tap the rotor off the shaft.

NOTE: Be careful not to damage the pulley when tapping on the rotor.
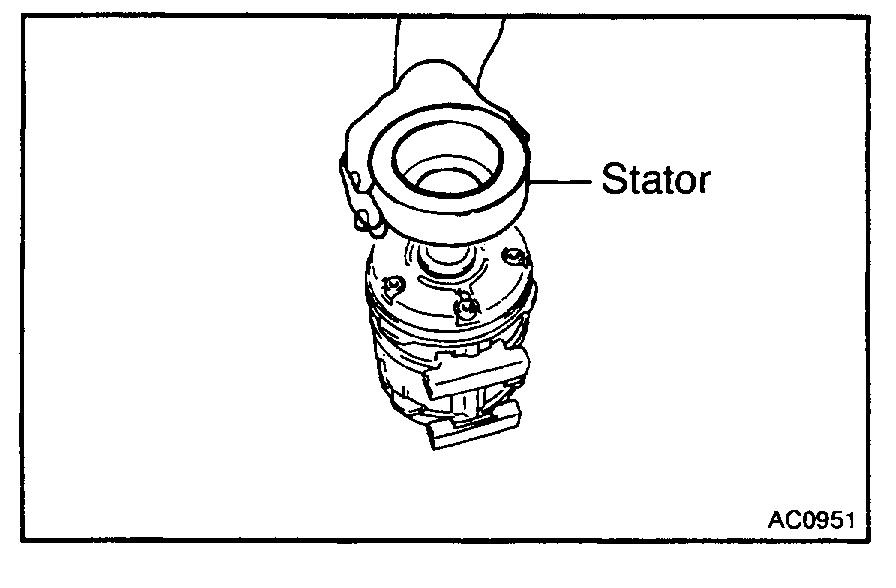
3. REMOVE STATOR

a. Disconnect the stator lead wire from the compressor housing.

B. Using SST, remove the snap ring.
SST 07114-84020

c. Remove the stator.

REASSEMBLY

1. INSTALL STATOR

a. Install the stator.

B. Using SST, install the snap ring.
SST 07114-84020

NOTE: The snap ring should be installed so that its beveled side faces up.

C. Connect the stator lead wire to the compressor housing.

2. INSTALL ROTOR

a. Install the rotor.
B. Using SST, install the snap ring.
SST 07114-84020

NOTE: The snap ring should be installed so that beveled side faces up.

3. INSTALL PRESSURE PLATE

a. Install the shims to the pressure plate and install the pressure plate on the rotor.

B. Using SST and a torque wrench, install the shaft bolt.
SST 07112-66040, 07112-76060
Torque: 13.2 N.M (135 kgf. Cm, 9 ft. Lbf)

4. INSPECT MAGNETIC CLUTCH CLEARANCE
a. Set the dial indicator to the pressure plate of the magnetic clutch.
B. Connect the magnetic clutch lead wire to the positive (+) terminal of the battery.
C. Check the clearance between the pressure plate and rotor when connecting the negative (-) terminal to the battery.
Standard clearance: 0.5 ± 0.15 mm (0.020 ± 0.0059 in.)
If the clearance is not within the standard clearance, adjust the clearance using shims to obtain the standard clearance.

Shim thickness:
0.1 mm (0.004 in.)
0.3 mm (0.012 in.)
0.5 mm (0.020 in.)
Was this
answer
helpful?
Yes
No
Monday, April 8th, 2019 AT 11:03 PM
Tiny
HUMBERTO MORALES
  • MEMBER
  • 3 POSTS
Thanks, finally changed the whole compressor, I have some A/C tools. Works fine now.
Was this
answer
helpful?
Yes
No
Monday, May 27th, 2019 AT 5:39 PM
Tiny
CARADIODOC
  • MECHANIC
  • 33,752 POSTS
Dandy. Happy to hear you solved it.
Was this
answer
helpful?
Yes
No
Monday, May 27th, 2019 AT 6:18 PM

Please login or register to post a reply.

Sponsored links