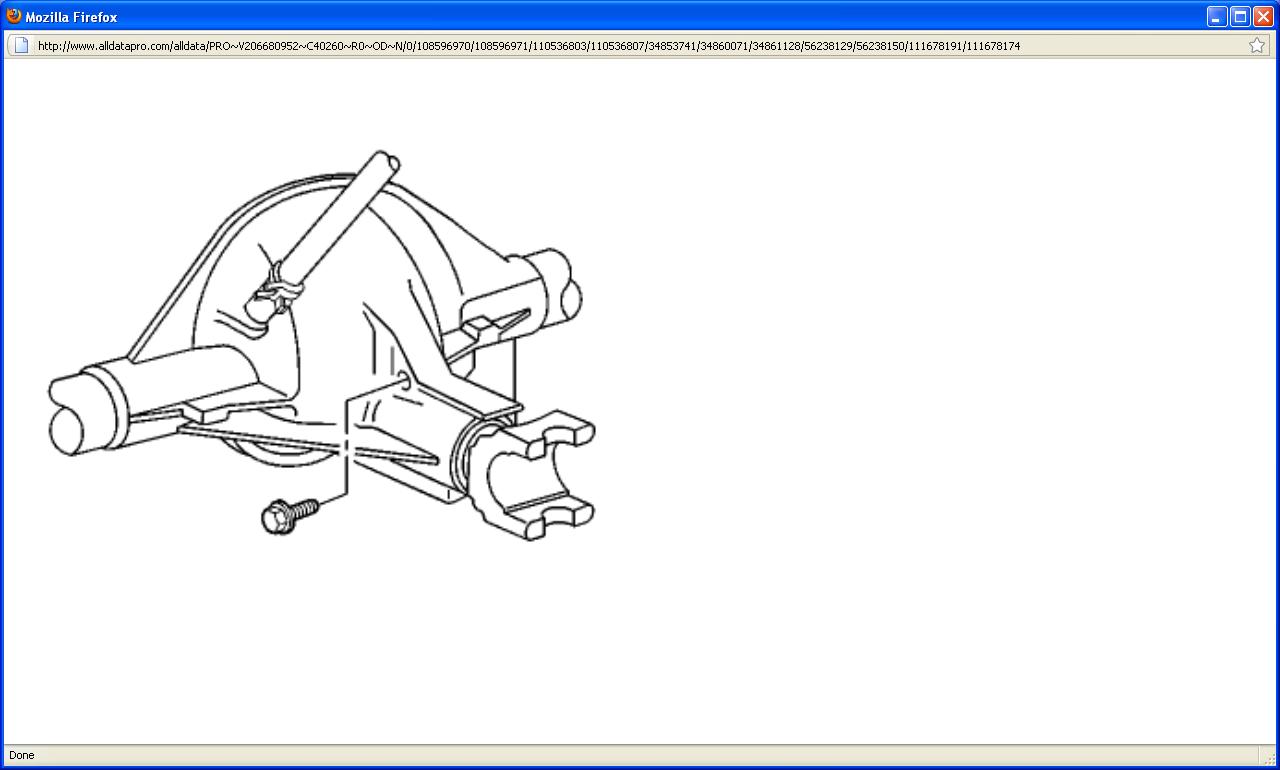
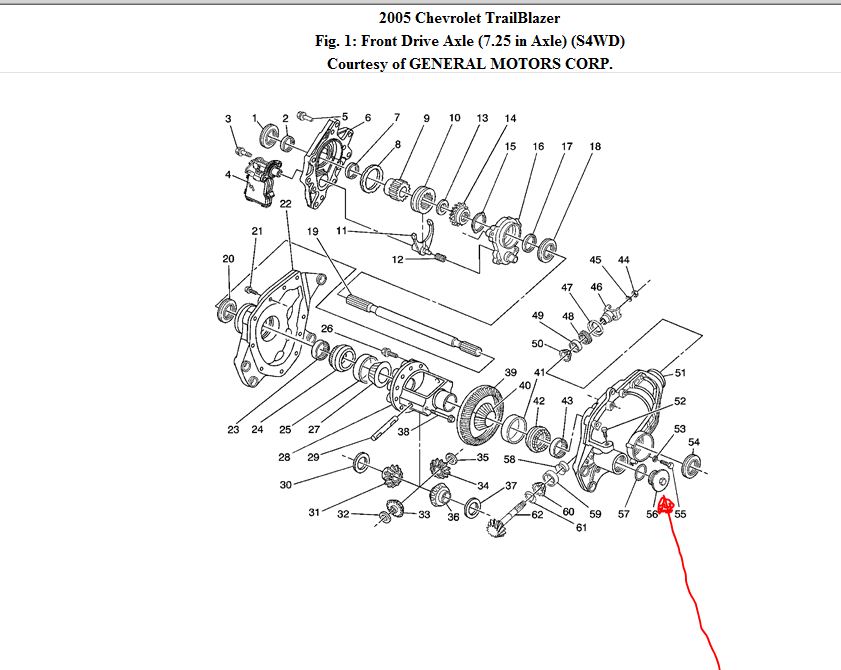
Rear differential fluid level check

Tiny
MARKLH63
  • MEMBER
  • 2005 CHEVROLET TRAILBLAZER
  • 6 CYL
  • 4WD
  • AUTOMATIC
  • 75,000 MILES
Want to check the rear differential fluid level in a 2005 chevy trailblazer LT. Is it a snap-in plug or it is going to be a threaded plug? I know it has to be on level ground and the level should be to the bottom of the top fill hole? Will one hole is all that's needed to be checked to top off fluid if needed. I have 75-90 oil standing by. The reason I want to check is cause I am hearing a slight whirring noise coming from the rear of the car and was told to check check that first. Any tips will be greatly appreciated. Thank you
Monday, March 7th, 2011 AT 8:25 PM

8 Replies

Tiny
SATURNTECH9
  • MECHANIC
  • 30,870 POSTS
I posted a diagram showing you where the fill/level plug is it's screw in.I also posted a instructions on how to check it's level pretty straight forward. It takes 75-90W synthetic fluid. Get 2 qts.

Lubricant Level Inspection - Rear Drive Axle

1. Raise the vehicle. Refer to Vehicle Lifting.
2. Make sure the vehicle is level.
3. Inspect the rear axle for leaks. Repair as necessary.
4. Clean the area around the rear axle fill plug.

5. Remove the rear axle fill plug.
6. Fabricate a dipstick from a pipe cleaner or similar item. Form the pipe cleaner into the shape of an "L".
7. Insert the pipe cleaner into the fill plug opening with the stem "L" is facing down.

Important: Ensure that the pipe cleaner is resting on the bottom threads of the fill hole.

8. Inspect the lubricant level. The lubricant level should be between 0 - 10 mm (0 - 0.4 inch) below the fill plug opening.
9. If the fluid level is low, add lubricant until the level is even with the bottom edge of the fill plug opening. Use the proper fluid. Refer to Fluid and Lubricant Recommendations.
10. Install the rear axle fill plug. Tighten the rear axle fill plug to 33 Nm (24 ft. Lbs.).

Notice: Refer to Fastener in Service Precautions.
Was this
answer
helpful?
Yes
No
+1
Monday, March 7th, 2011 AT 8:41 PM
Tiny
SATURNTECH9
  • MECHANIC
  • 30,870 POSTS
Also if you suspect the rear diff making noise you could always drain the fluid to see if it got any moisture in the fluid causing some issue's.I posted the fluid changing step's below it hold's about 3.6 pint's.

Lubricant Replacement - Rear Drive Axle
Removal Procedure

1. Clean the area around the rear axle fill plug.
2. Remove the rear axle fill plug.
3. Remove the rear axle cover.
4. Drain the lubricant into a suitable container.

Installation Procedure

1. Install the rear axle cover.
2. Inspect the fluid level.
3. Fill the rear axle with axle lubricant. Use the proper fluid. Refer to Capacities - Approximate Fluid.

4. Install the rear axle fill plug. Tighten the rear axle fill plug to 33 Nm (24 ft. Lbs.).

Notice: Refer to Fastener in Service Precautions.

5. Lower the vehicle.
Was this
answer
helpful?
Yes
No
Monday, March 7th, 2011 AT 8:45 PM
Tiny
SATURNTECH9
  • MECHANIC
  • 30,870 POSTS
Hey I also found this bulletin about a whining from the rear end see if that sound's like what your hearing.

Bulletin No: 03-04-17-002A

Date: December 06, 2006

TECHNICAL
Subject:
Whine Noise From Rear Axle (Diagnose and Replace Rear Propeller Shaft With New Tuned Torsional Damper Rear Propeller Shaft)

Models:
2004-2007 Buick Rainier
2002-2007 Chevrolet TrailBlazer
2002-2007 GMC Envoy
2002-2004 Oldsmobile Bravada

with 4.2L 6-Cylinder Engine (VIN S - RPO LL8), 4.10 Ratio Rear Axle (RPO GT5) and Standard (Short) Wheelbase

Supercede:

This bulletin is being revised to add model years and update the models affected. Please discard Corporate Bulletin Number 03-04-17-002 (Section 04 - Driveline/Axle).

Condition

Some customers may comment on a slight axle whine heard only on deceleration or coast conditions. The noise peaks at about 77 to 83 km/h (48 to 52 mph) before quieting at about 72 km/h (45 mph).

Cause

"Inherent" ring and pinion gear whine.

All gear driven units, such as automotive rear axles, produce some level of noise that cannot be eliminated with conventional adjustments and repairs. "Inherent" axle noise can be described as a slight noise heard only at a certain speed (typically between 72-96 km/h (45-60 mph). The presence of this noise is not indicative of a functional concern with the axle assembly. However, some customers may find that this "inherent" axle noise is unacceptable.

Correction

If the noise is not correctly diagnosed as "inherent" and having a peak in the narrow speed range of 77 to 83 km/h (48 to 52 mph) on deceleration or coast conditions, the addition of a tuned torsional damper propeller shaft can aggravate the perceptible noise level. It is extremely important to first diagnose the rear axle noise as "inherent" before installing a new tuned torsional damper propeller shaft. Refer to the applicable diagnostic information in the Rear Drive Axle subsection of Service Information.

The new service propeller shafts are only designed to correct the noise condition described above. They will not be effective if repair attempts are made to correct other noise conditions. If propeller shaft replacement is needed for any other reason, the existing service part number propeller shaft should be used.

Replace the rear propeller shaft with a new tuned torsional damper propeller shaft using the applicable part number listed below. The new propeller shaft incorporates a damper assembly to lessen noise transmitted from the rear axle assembly. The new propeller shaft should be used ONLY after diagnosis concludes that it is an "inherent" rear axle noise and no physical damage or incorrect adjustment exists. Refer to the Propeller Shaft subsection of Service Information (SI) for rear propeller shaft replacement procedures.
Was this
answer
helpful?
Yes
No
+2
Monday, March 7th, 2011 AT 8:51 PM
Tiny
SAGETILTON
  • MEMBER
  • 3 POSTS
  • 2005 CHEVROLET TRAILBLAZER
  • 6 CYL
  • 4WD
  • AUTOMATIC
  • 124,000 MILES
I am trying to find the port to check and add fluid to my left front differential it is leaking. It is on a 2005 Chevy Trailblazer LS EXT
Was this
answer
helpful?
Yes
No
Saturday, November 9th, 2019 AT 4:46 PM (Merged)
Tiny
MHPAUTOS
  • MECHANIC
  • 31,938 POSTS
See pic for location.
Was this
answer
helpful?
Yes
No
-1
Saturday, November 9th, 2019 AT 4:46 PM (Merged)
Tiny
SAGETILTON
  • MEMBER
  • 3 POSTS
Thank you very much it is greatly appreciated. If you have a moment though I was wondering if on the diagram you have presented me with if number 52 was the fill port or if 56 was where 56 was sideways and so large. Thank you for your time mhpautos.
Was this
answer
helpful?
Yes
No
Saturday, November 9th, 2019 AT 4:46 PM (Merged)
Tiny
MHPAUTOS
  • MECHANIC
  • 31,938 POSTS
52 is the vent, see table in pic.
Was this
answer
helpful?
Yes
No
Saturday, November 9th, 2019 AT 4:46 PM (Merged)
Tiny
SAGETILTON
  • MEMBER
  • 3 POSTS
Thank you mhpautos
Was this
answer
helpful?
Yes
No
Saturday, November 9th, 2019 AT 4:46 PM (Merged)

Please login or register to post a reply.

Sponsored links