A/T FLUID REPLACEMENT
If you have an A/T fluid changer, use this changer to replace the A/T fluid. If you do not have an A/T fluid changer, replace the A/T fluid by the following procedure:
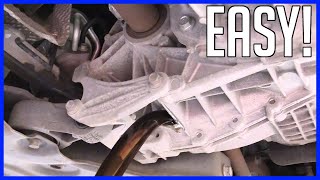
1. Disconnect the hose shown in the illustration which connects the transaxle and the oil cooler (inside the radiator). Place a container under the hose to collect the A/T fluid.
CAUTION:
The engine should be stopped within one minute after it is started. If all the A/T fluid has drained out before then, the engine should be stopped at that point.
2. Start the engine and let the A/T fluid drain out. (Running conditions: "N" range with engine idling.) Discharge volume: Approximately 3.5 dm3 (3.7 quarts)
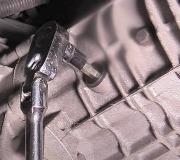
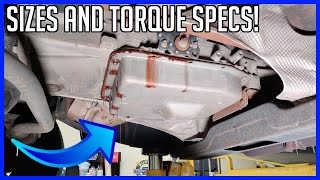
3. Remove the drain plug from the bottom of the transaxle case to drain the A/T fluid. Discharge volume: Approximately 2.0 dm3 (2.1 quarts)
4. Install the drain plug with a new gasket, and tighten it to the specified torque. Tightening torque: 32 +/- 2 N.M (24 +/- 1 ft-lb)
CAUTION:
Stop pouring if the full volume of A/T fluid cannot be added.
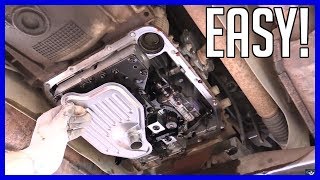
5. Add new A/T fluid (DIAMOND ATF SP III or equivalent) through the oil filler tube. Adding volume: Approximately 5.5 dm3 (5.8 quarts)
6. Repeat the procedure in Step 2. (To pump out the rest of the contaminated A/T fluid)
7. Add new A/T fluid (DIAMOND ATF SP III or equivalent) through the oil filler tube. Adding volume: Approximately 3.5 dm3 (3.7 quarts)
NOTE:
Check for contamination or a burnt odor. If the A/T fluid is still contaminated or burnt, repeat Steps 6 and 7 before proceeding to Step 8.
8. Reconnect the hose which was disconnected in step 1 above, and firmly replace the dipstick.
9. Start the engine and run it at idle for one to two minutes.
10. Move the selector lever through all positions, and then move it to the "N" position.
11. Check that the A/T fluid level is at the "COLD" mark on the dipstick. If the level is less than this, add A/T fluid.
12. Drive the vehicle until the A/T fluid temperature rises to the normal operating temperature [70 - 80°C (158 - 176°F)], and then check the A/T fluid level again. The A/T fluid level must be at the "HOT" mark.
NOTE:
The A/T fluid temperature is measured with scan tool MB991502 (MUT-II).
NOTE:
The "COLD" level is for reference only; the "HOT" level should be regarded as the standard level.
13. If the A/T fluid is less than the specified level, add A/T fluid. If the A/T fluid is greater than the specified level, drain the excess fluid through the drain plug to adjust the A/T fluid to the specified level.
14. Firmly insert the dipstick into the oil filler tube.
Images (Click to make bigger)
SPONSORED LINKS
Wednesday, January 2nd, 2013 AT 1:19 PM