You don't need any seal puller. A screw driver would do but installation requires care so you need to see how far the seal is seated before attempting to remove it so that you can reinstall it back correctly.
You would need to remove the axle shaft which is not too easy if you do not have sufficient tools and at times the axle shaft can be stuck rather tight which means you might not be able to take it out of the knuckle and might require the complete knuckle to be removed.
REMOVAL FWD AXLE SHAFTS
Removal
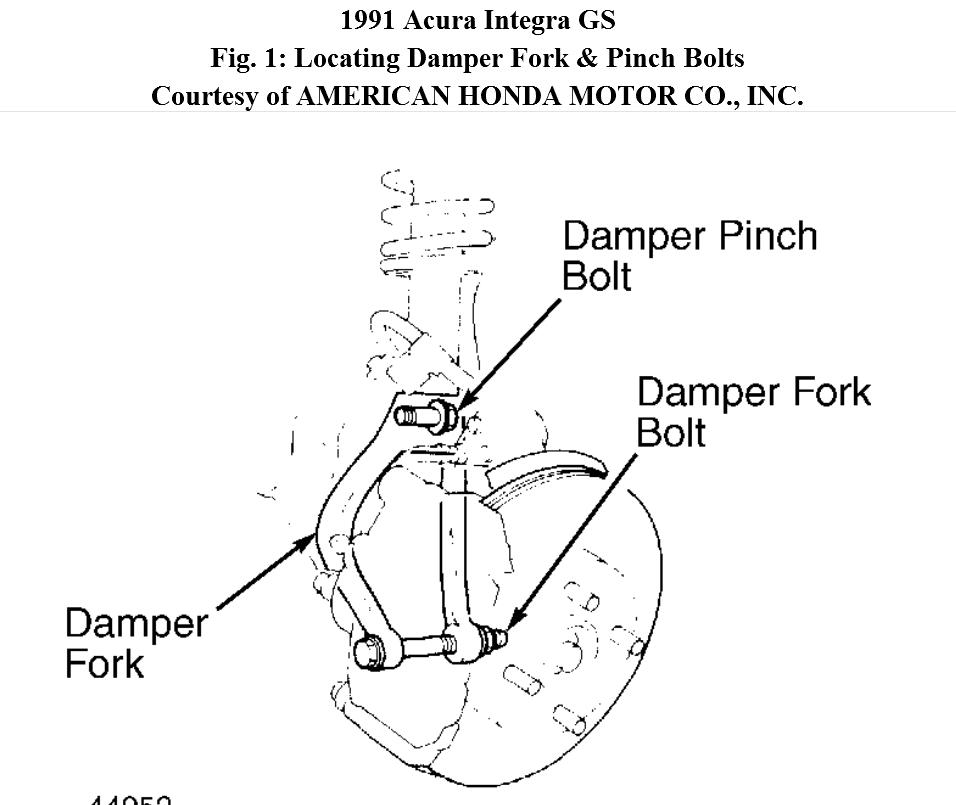
1. Pry lock tab away from spindle nut. Loosen spindle nut and wheel lug nuts. Raise and support vehicle. Drain transaxle fluid Not necessary if auto transmission but if fluid had been overfilled, it can leak out). Draining transaxle fluid is not necessary if removing only left axle shaft. Remove front wheels and spindle nut. Remove damper pinch bolt and damper fork bolt. Remove damper fork. See Fig. 1.
2. Remove lower ball joint cotter pin. Back off castle nut until outer surface is flush with end of stud. Using ball joint puller, separate ball joint from lower control arm. Remove ball joint castle nut and ball joint from lower control arm. Pull steering knuckle outward. Remove axle shaft from hub assembly. If necessary,
use plastic mallet to drive axle from hub.
3. Using a large screwdriver, carefully pry inner CV joint and shaft assembly outward to disengage retaining ring from groove at end of inner drive axle. Grip both sides of inner CV joint, and remove axle shaft and CV joint from vehicle.
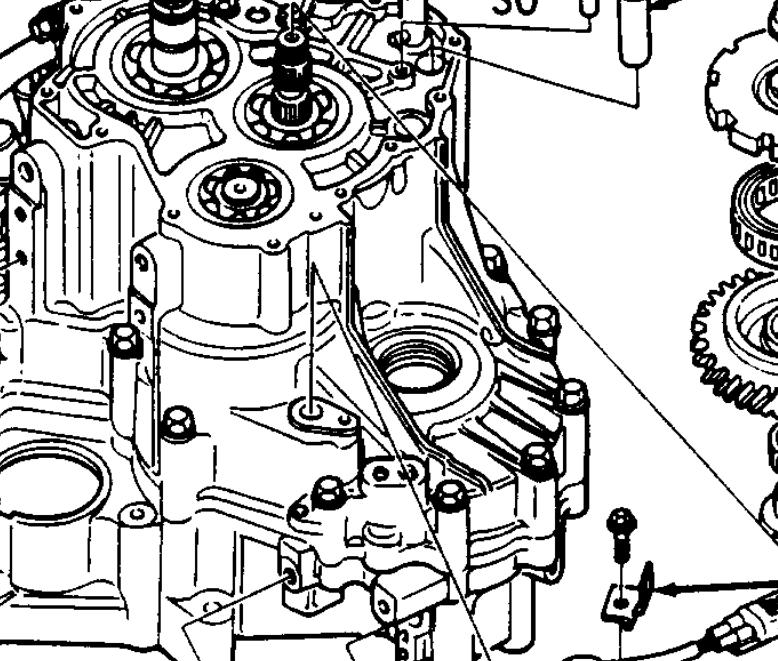
4. Using a large screwdriver, carefully pry the oil seal out. Clean surrounding area before reinstalling.
The big hole iat center of 2nd diagram is the one you are refering to. We call it the right drive shaft inner CV joint seal, transmission.
Images (Click to enlarge)
Sep 4, 2012 at 7:45 PM