Removing an airbag inflation module is not a difficult job but needs to be done correctly to avoid accidental deployment. In this guide we will walk you through the steps for a successful repair.
Supplies Needed
- Tool Set
- Protective gloves and eyewear
Before You Begin
Park the car on level ground with the parking brake on. Locate the battery which is usually under the hood and disconnect the negative side of the battery and allow the car to sit for about 15 minuets, this will disarm the airbag safety system.
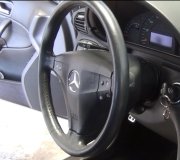
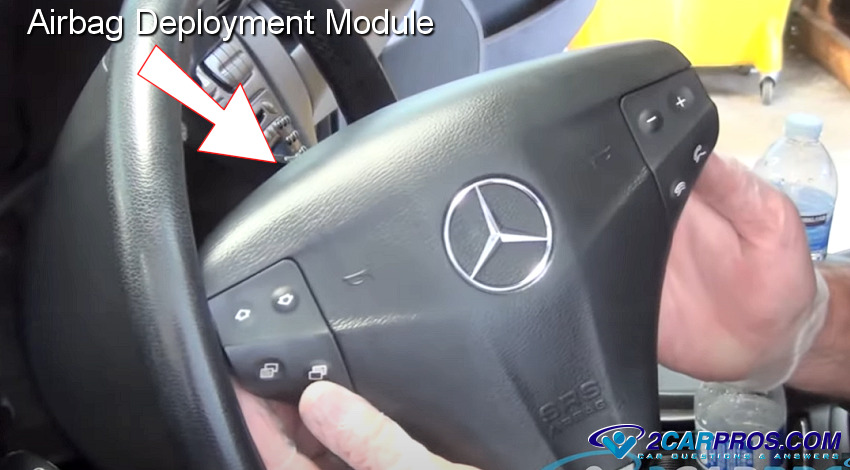
Drivers Side Airbag Removal
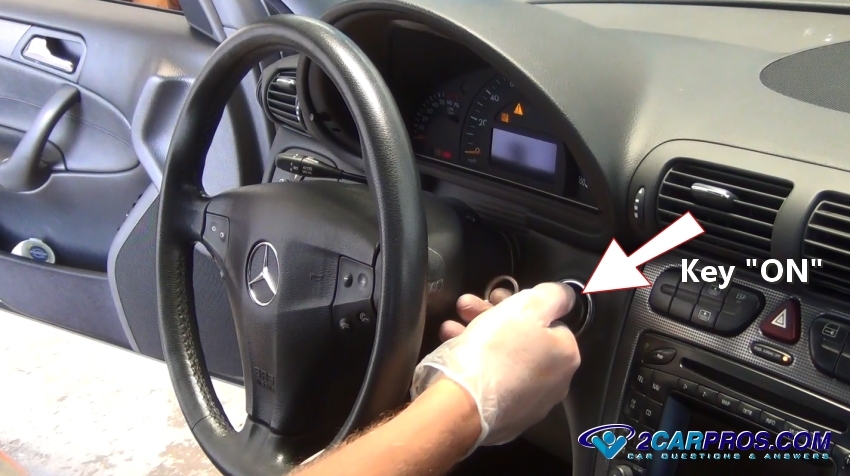
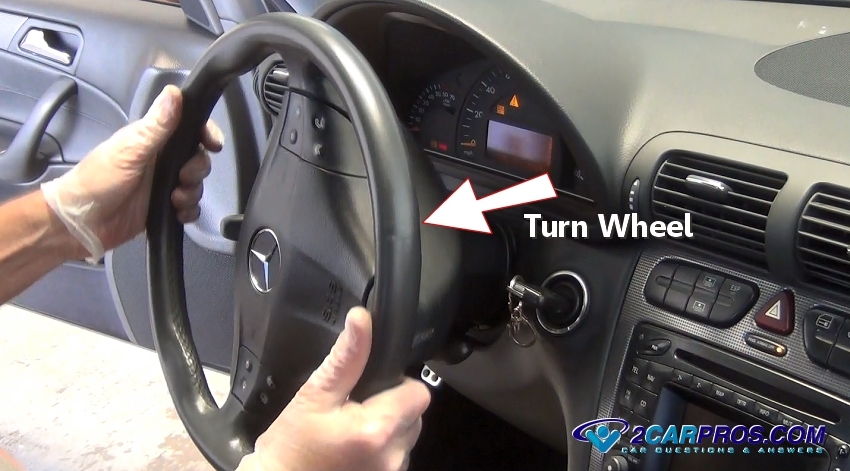
1. Turn the ignition switch to the on position, this will unlock the wheel and allow you to move it in either direction and help you access the mounting bolts or release clips (On Gm vehicles) which are located on the backside of the steering wheel cover.
2. Grasp the steering wheel and turn it 90° locating the first mounting bolt or clip upward.
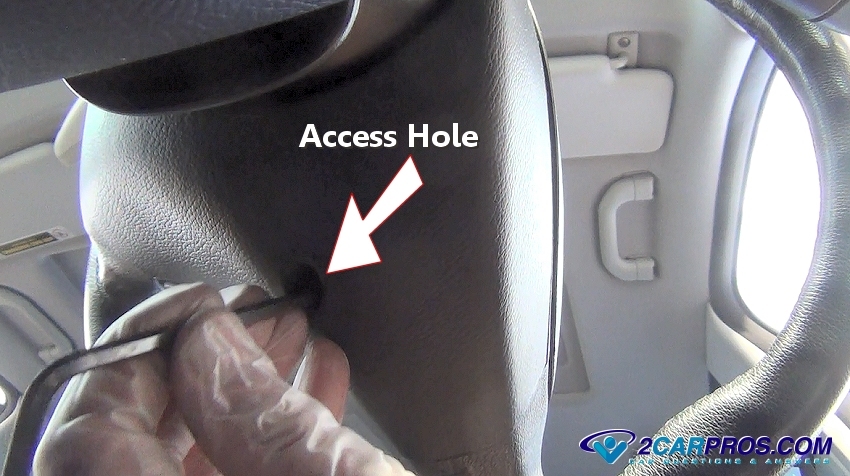
3. Look behind the steering wheel to find the access holes where the bolts are located. Some manufacturer's have slots which give access to a retainer clip or ring which requires a screwdriver to release.
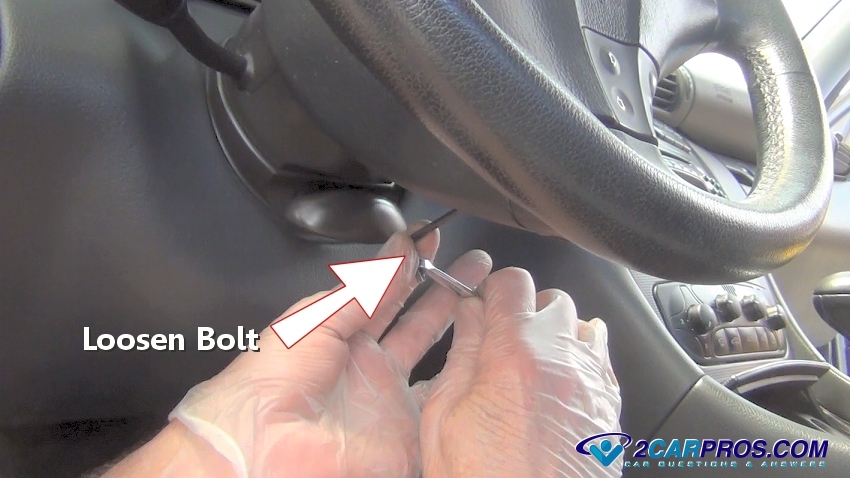
4. After locating the access hole loosen the mounting bolts or clips which will release one side of the airbag. For some applications the bolts will be retained in the wheel and will not come out which is normal.
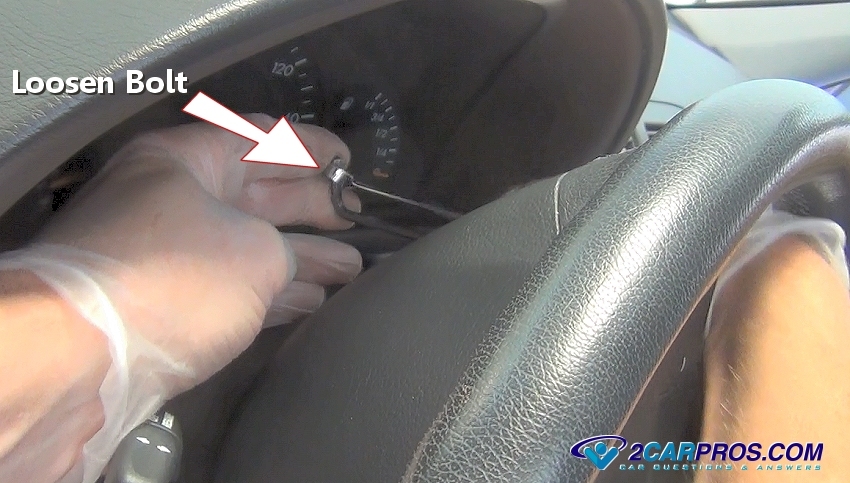
5. Once one side has been removed or released turn the steering wheel in the opposite direction 180°. Then locate and loosen or remove the opposing mounting bolt or retainer clip.
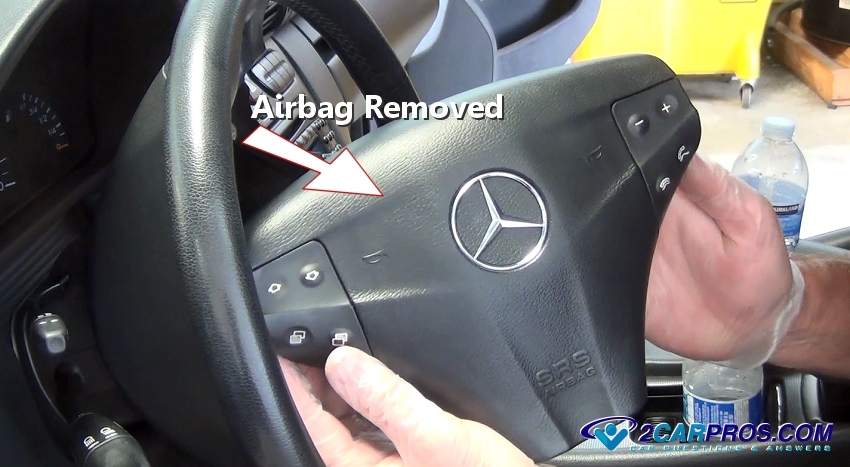
6. Gently grasp the assembly while pulling it away from the steering wheel, be careful to not pull it out quickly because the wiring harness connector for the horn and deployment controls will still be attached to the backside which you don't want to damage.

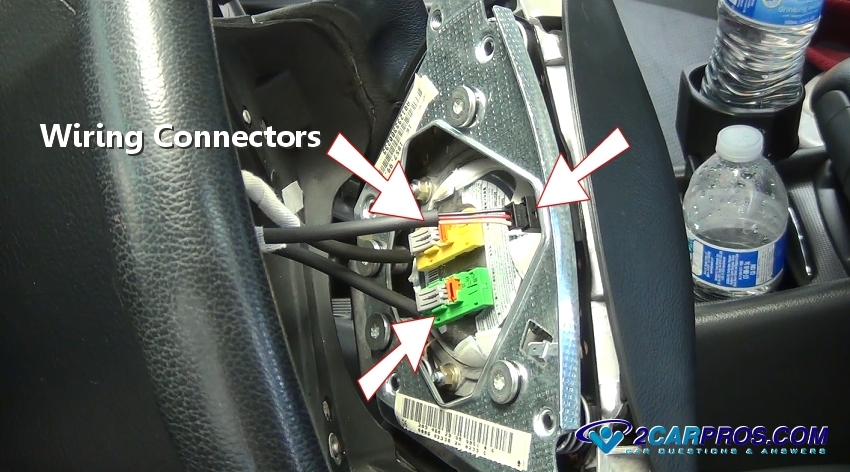
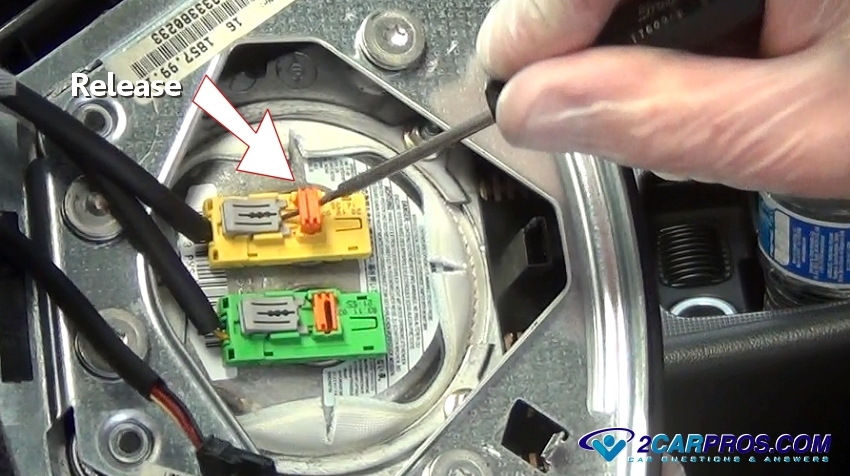
7. On the backside of the airbag will be the wiring connectors. These connectors are for the first and second stage deployment and are color coded one green and one yellow, the horn connector is black. These can be different configuration and color for your car.
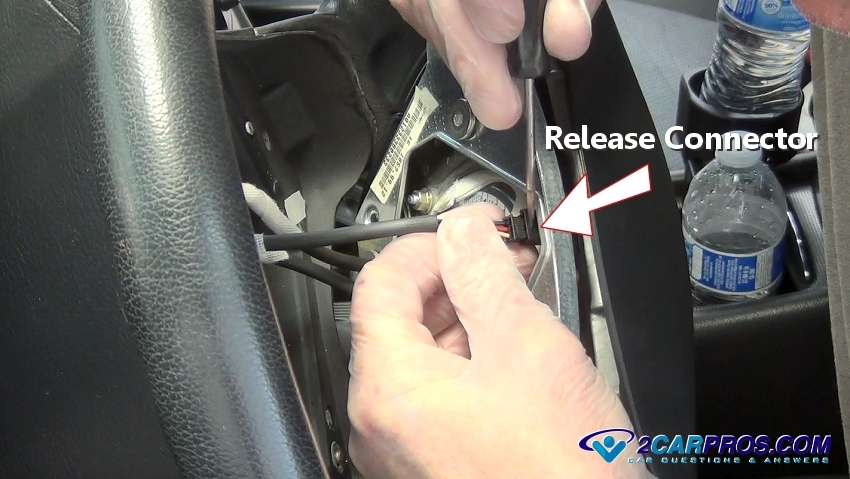
8. Using a small pick or screwdriver carefully release the horn pad connector and pull it away from the airbag. This safety clip is made of plastic so be gently as not to break it.
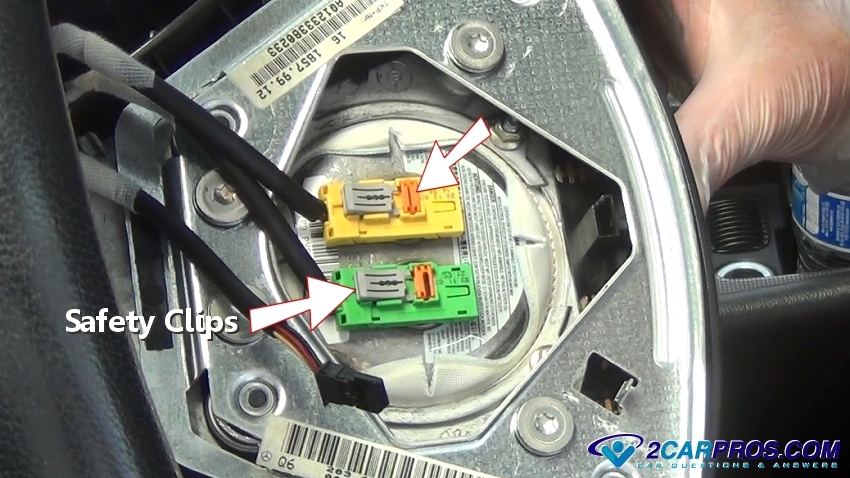
9. Wiring connectors can have one or more safety clips or operations to remove the connector. This connector has two separate devices one orange, and one grey on each connector.
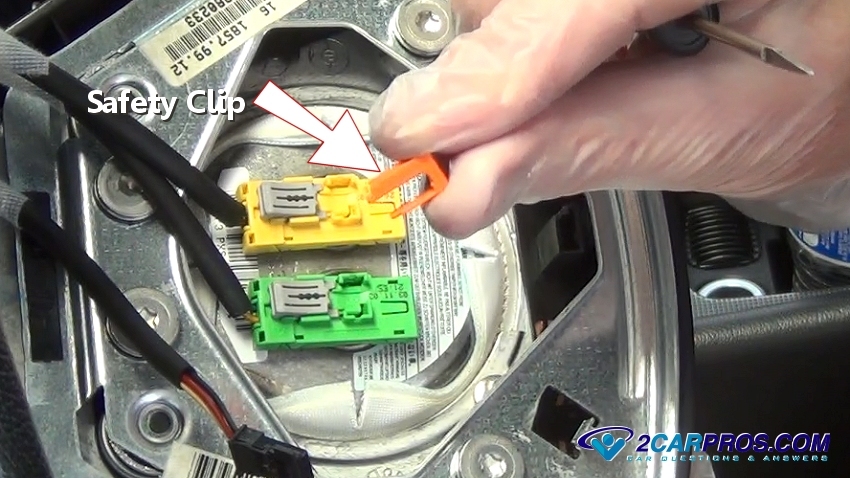
10. Use a small pick or screwdriver to release the primary safety clip by pushing it downward. Each manufacturer has a different method of release so push in all directions until it unlocks.
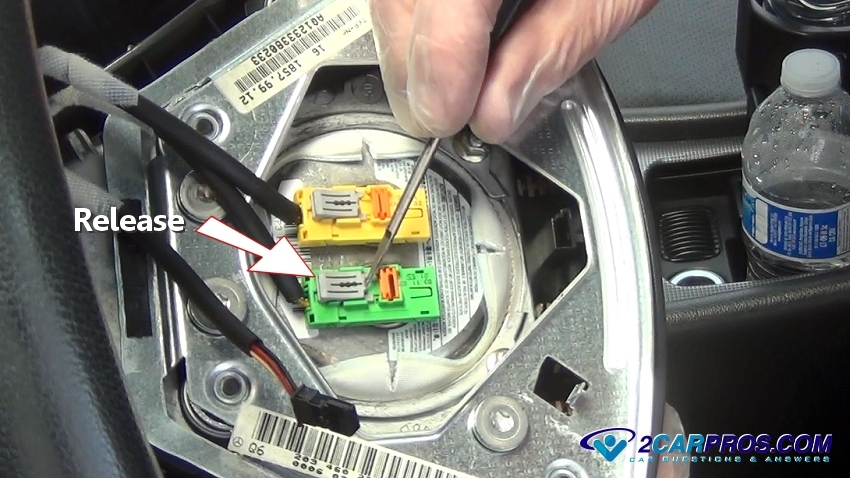
11. Once the primary safety clip has been released gently pull up on the secondary clip. This will help you remove the clip from the connector.
12. After the clip has been released grasp it and remove it from the connector.
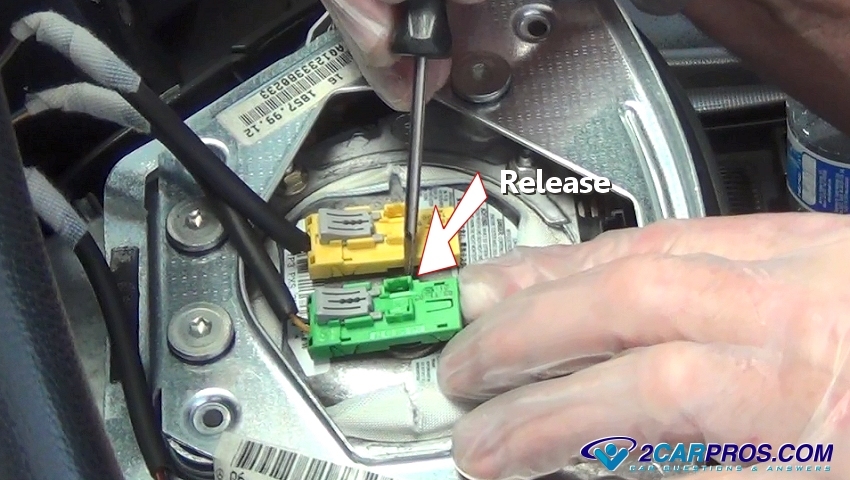
13. Now the connector is ready to be removed. While pulling up slightly use a small pick to release the tang (barb) on each side of the connector while gently pulling upward. You may need to gently rock the connector back and fourth a little to aid in its disconnection.
14. The connector will now be removed, inspect it for damage or corrosion.
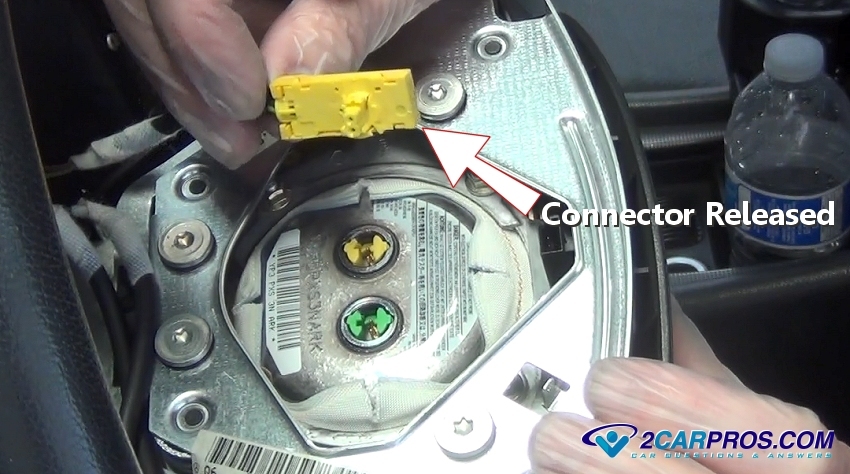
15. If you are replacing the airbag because of deployment inspect and match the electrical connectors, they should be identical. Once repairs are completed simply reinstall the airbag by reversing these steps. Electrical connectors will produce an audible click to confirm their proper installation. After the repair is complete turn the ignition key to the on position and start the engine to straighten the steering wheel, the airbag warning light should be off. If when the repair is complete and the light is on disassemble to recheck the connections.
Watch the Video!
Please watch this video of the job being done to glean additional helpful information.
Credits
This guide knowledge base was created by the 2CarPros Team, and by Ken Lavacot: Automobile repair shop owner and certified master automobile technician of over 30 years. If you have question or need help please ask one of our experts we are happy to help. Please visit our 2CarPros YouTube Channel.

Article published 2024-04-22