Good morning.
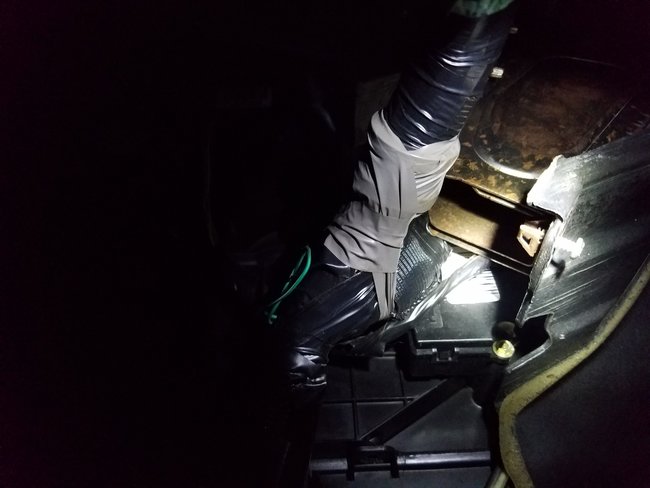
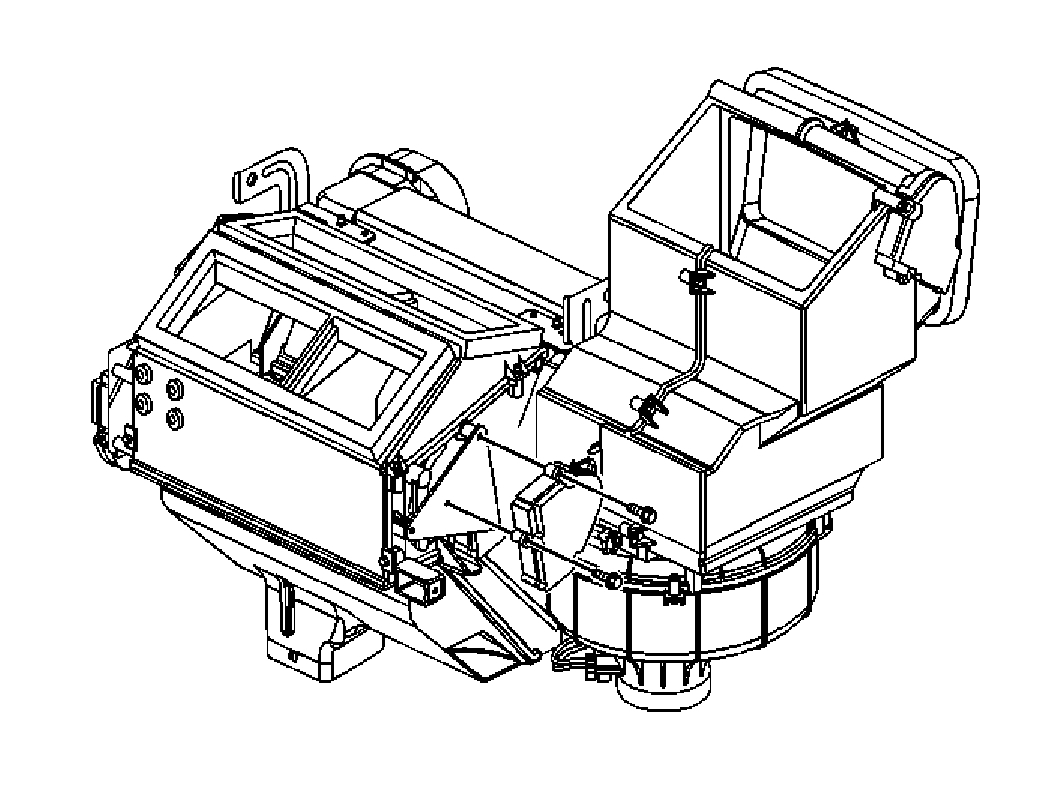
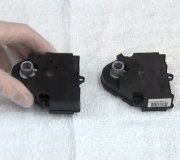
I attached a picture of the actuator and its location. The unfortunate problem is the dash has to be removed to gain access to the motor.
Roy
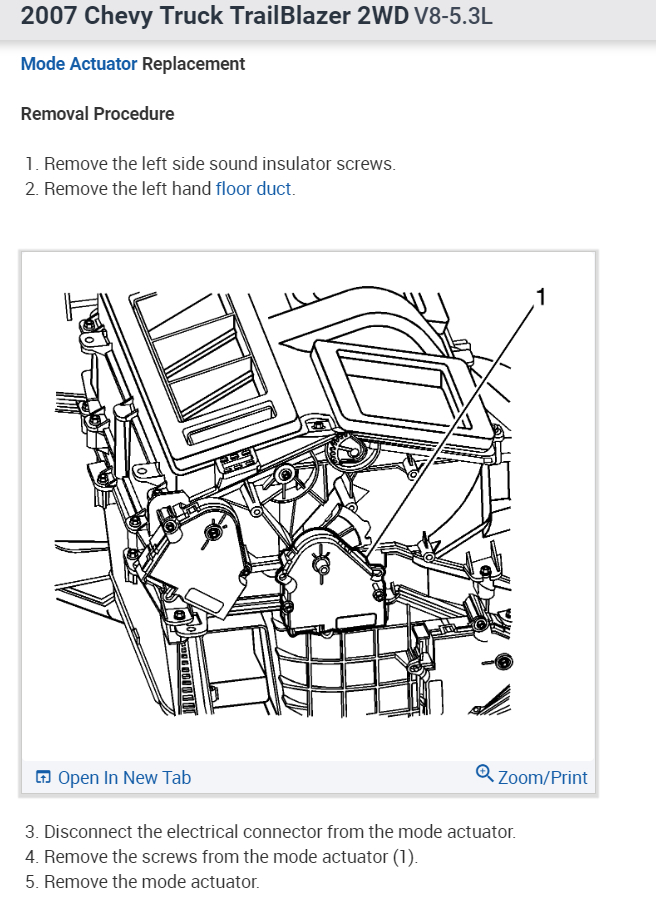
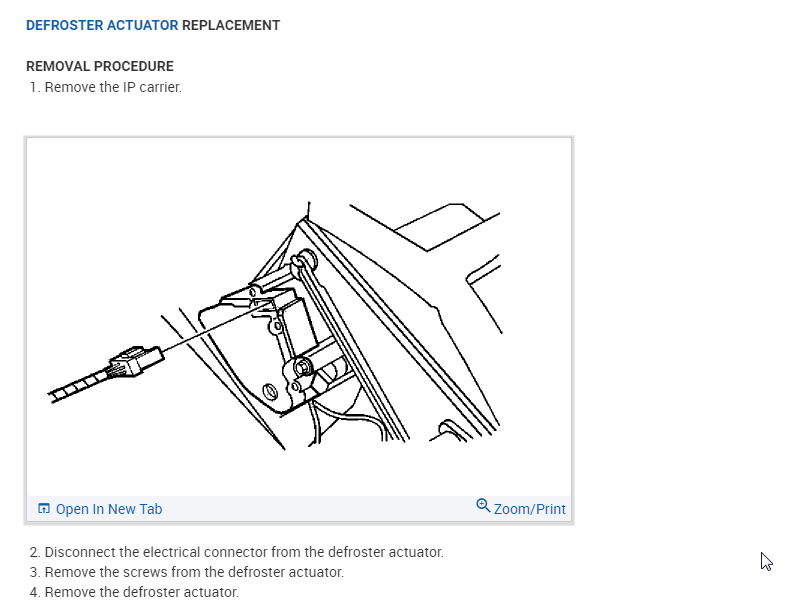
REMOVAL PROCEDURE
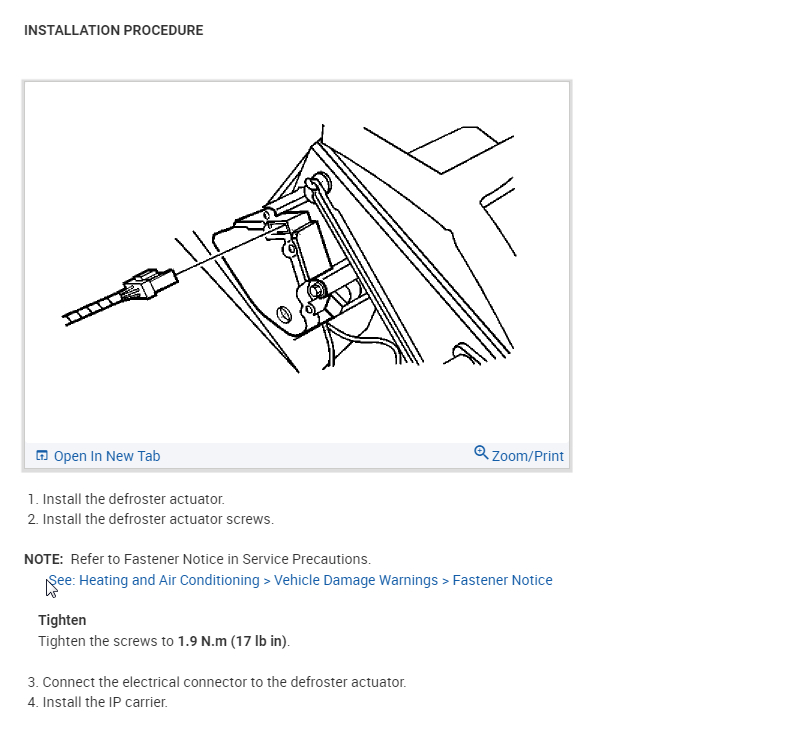
1. Remove the I/P carrier.
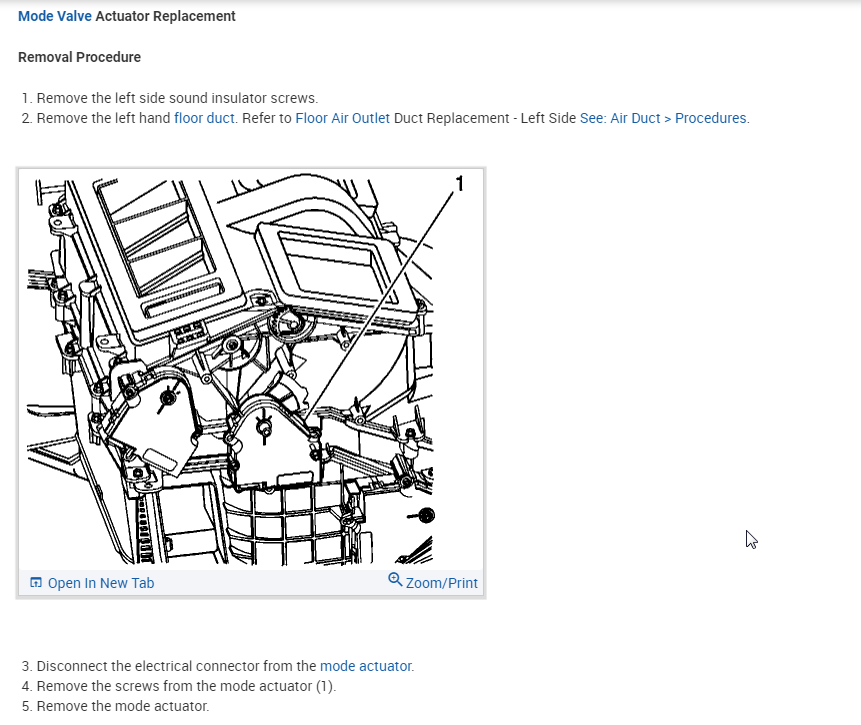
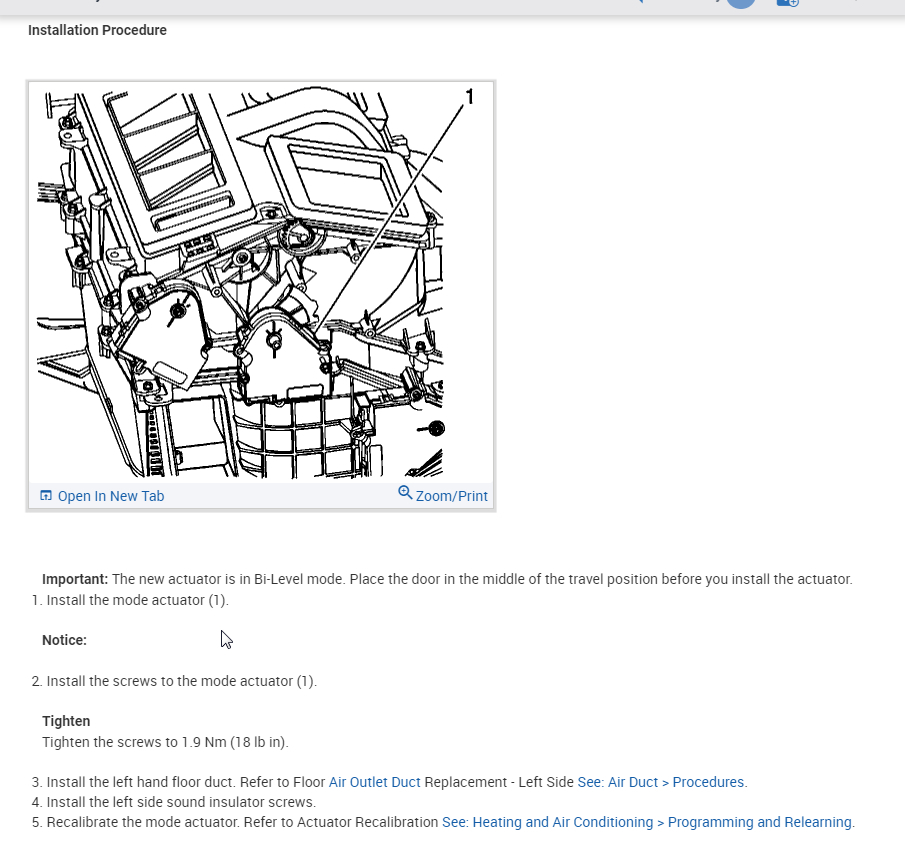
ImageZoom/Print
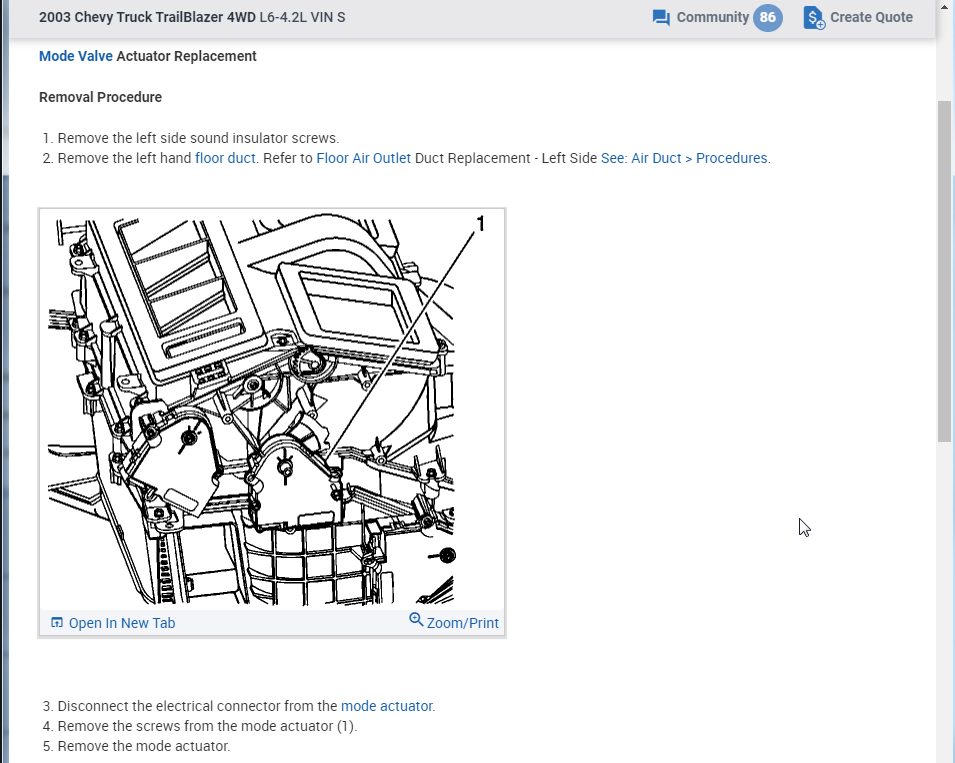
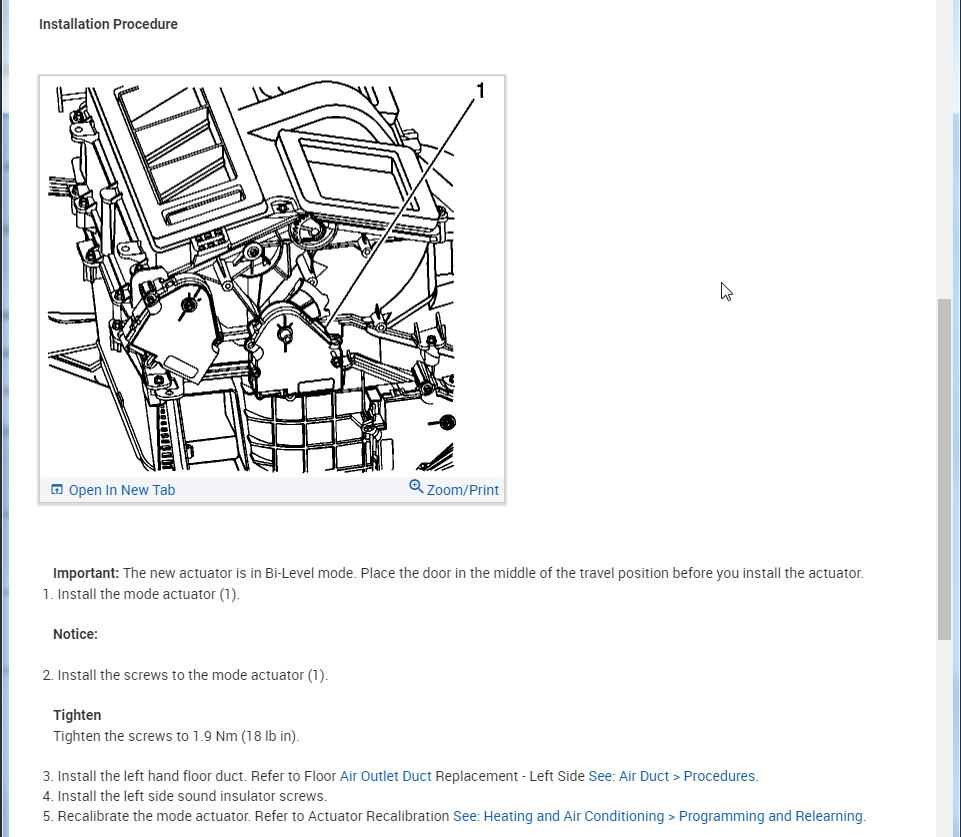
2. Remove the left side air temperature actuator (1) retaining screws.
3. Disconnect the left side air temperature actuator electrical connector.
4. Remove the left side air temperature actuator.
Dash removal procedures
emoval Procedure
1. Remove the center floor console.
2. Remove the instrument panel (IP).
3. Remove the steering column with the steering wheel attached.
4. Remove the floor console bracket.
ImageZoom/Print
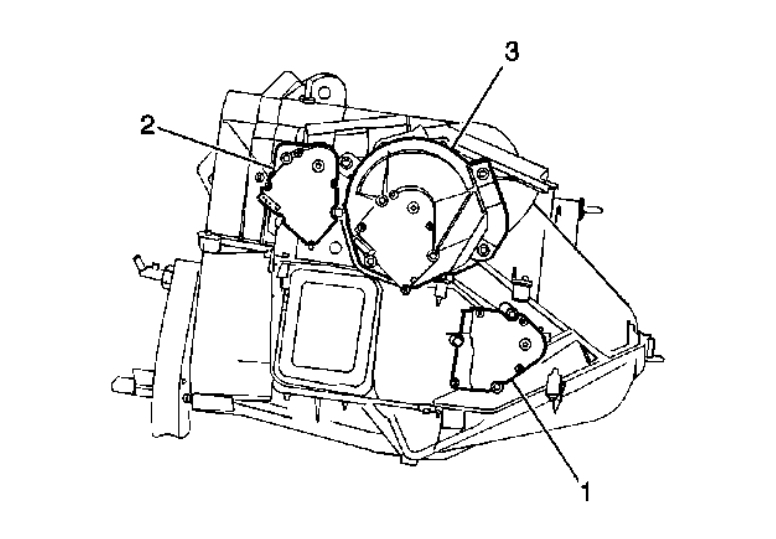
5. Remove the splice pack from the floor panel located on the right side of the HVAC center support bracket (5).
6. Remove the HVAC center support bracket (5) from the HVAC module (2).
ImageZoom/Print
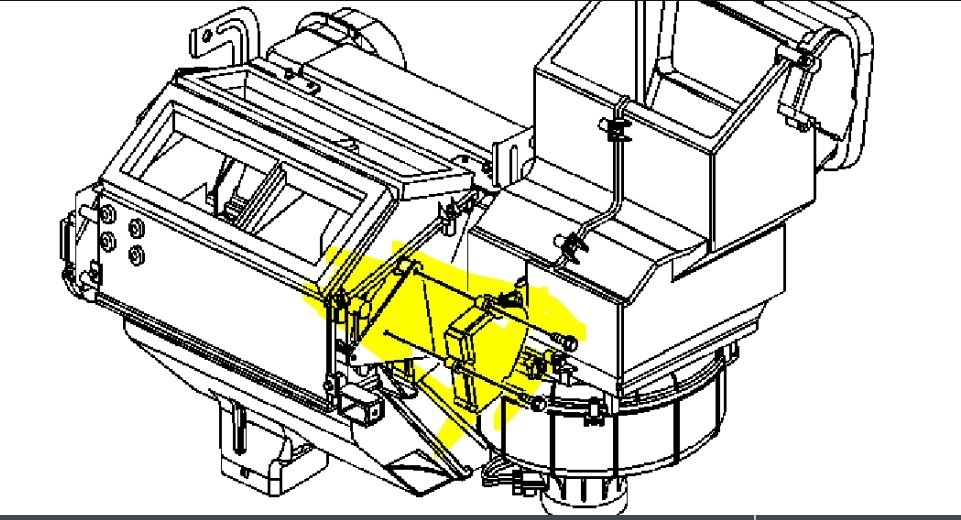
7. Remove the side window defogger duct.
ImageZoom/Print
8. Remove the instrument panel cluster (IPC) wire harness attachments (1) from the steering column support bracket and IP carrier.
9. Remove the speaker wire harness attachments from the steering column support bracket and IP carrier.
ImageZoom/Print
10. Remove the IP wiring harness retaining screws (1) from the IP support brackets, located near the steering column support bracket.
ImageZoom/Print
11. Remove the 2 bolts (1) located at the top of the steering column support bracket.
ImageZoom/Print
12. Remove the 2 bolts (1) located underneath the steering column support bracket.
ImageZoom/Print
13. Detach and remove the SIR harness from the IP carrier.
14. Disconnect the radio antenna cable located near the blower motor.
15. Detach and remove the IP wire harness from the right side of the IP carrier.
16. Remove the radio harness form the IP carrier.
17. Remove the temperature sensors from the ventilation ducts.
18. Remove the transfer case control module from the steering column support bracket.
ImageZoom/Print
19. Remove the upper and lower bolts retaining the IP carrier to the right cowl side carrier bracket.
20. Remove the center bolt (1) that retains the IP carrier to the right cowl side carrier bracket.
ImageZoom/Print
21. Remove the upper and lower bolts retaining the steering column support bracket to the left cowl side carrier bracket.
22. Remove the center bolt (1) that retains the steering column support bracket to the left cowl side carrier bracket.
ImageZoom/Print
23. Remove the 6 nuts that retain the HVAC module to the IP carrier.
24. Remove the IP carrier and steering column support bracket assembly from the vehicle and place on a clean prepared surface.
Image (Click to make bigger)
SPONSORED LINKS
Friday, February 12th, 2021 AT 10:19 AM
(Merged)