In the process of removing the engine, you will come across a number of steps which call for the removal of a separate component or system, such as "disconnect the exhaust system" or "remove the radiator." If you need help with anything specific just let me know.
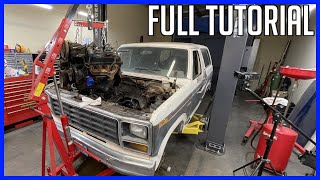
Removing the engine on these vehicles require the use of a suitable engine/transaxle support table.
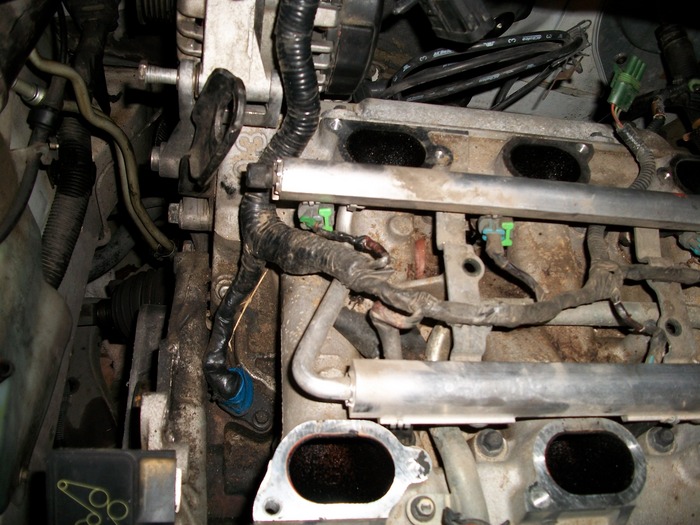
It is virtually impossible to list each individual wire and hose which must be disconnected, simply because so many different model and engine combinations have been manufactured. Careful observation and common sense are the best possible approaches to any repair procedure.
Removal and installation of the engine can be made easier if you follow these basic points:
If you have to drain any of the fluids, use a suitable container.
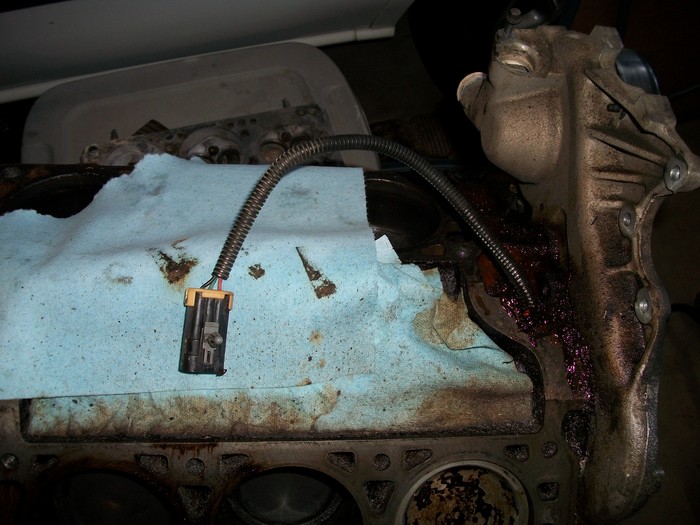
Always tag any wires or hoses and mark the components they came from before disconnecting them.
Because there are so many bolts and fasteners involved, store and label the retainers from components separately in muffin pans, jars or coffee cans. This will prevent confusion during installation.
After unbolting the transmission or transaxle, always make sure it is properly supported.
If it is necessary to disconnect the air conditioning system, have this service performed by a qualified technician using a recovery/recycling station. If the system does not have to be disconnected, unbolt the compressor and set it aside.
If your vehicle is equipped with air conditioning, refer tofor information regarding the implications of servicing your A/C system yourself. Only an MVAC-trained, EPA-certified, automotive technician should service the A/C system or its components.
CAUTION
Observe all applicable safety precautions when working around fuel. Whenever servicing the fuel system, always work in a well-ventilated area. Do not allow fuel spray or vapors to be exposed to a spark or open flame. Keep a dry chemical fire extinguisher near the work area. Always keep fuel in a container specifically designed for fuel storage; also, always properly seal fuel containers to avoid the possibility of fire or explosion.
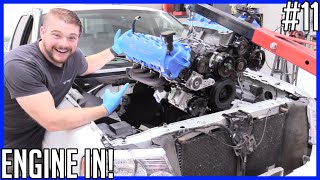
When unbolting the engine mounts, always make sure the engine is properly supported. When removing the engine, make sure that any lifting devices are properly attached to the engine. It is recommended that if your engine is supplied with lifting hooks, your lifting apparatus be attached to them.
Drop the engine from its compartment slowly, checking that no hoses, wires or other components are still connected.
After the engine is clear of the compartment, place it on an engine stand or workbench.
After the engine has been removed, you can perform a partial or full teardown of the engine using the procedures outlined in this guide.
The engine replacement procedure given here is considered typical for this line of vehicles. Because of variations from year to year, or line to line, no exact bolt by bolt process for replacement can be given. These directions are complete for the applications, however, because of production changes or trim level, your vehicle may be different.
Read these instructions completely before beginning to do the work. Be sure you understand each step of the directions before you begin doing it.
Most of the new design front-wheel drive vans extract their engines from underneath the vehicle. These vehicles fall into that category. You will need a suitable lift to complete this procedure. Unless provisions are made to safely raise the body enough to allow the engine to be removed from the bottom, this procedure should not be attempted.
1. If equipped with A/C, take your vehicle to a reputable repair shop to have the A/C system discharged and recovered.
2. Disconnect the negative battery cable.
3. Drain and recycle the engine coolant.
4. Properly relieve the fuel system pressure, as outlined in of this repair guide.
5. Remove the air cleaner assembly.
6. Detach the engine electrical connector, LH side of the engine.
7. Unplug the electrical connector from the cruise control servo.
8. Detach the electrical connector at the emergency jumper block.
9. Disconnect the wiring harness retainer at the RH side of the engine.
10. Detach the electrical connector at the engine-cooling fan.
11. Disconnect the shift cable, heat shield and bracket at the transaxle.
12. Remove the battery cable ground connection from the engine.
13. Detach the engine electrical block connector at the RH side of the engine.
14. Remove the retaining screws from the multi-use relay bracket at the tie bar.
15. Unplug the electrical connector from the A/C compressor and accumulator.
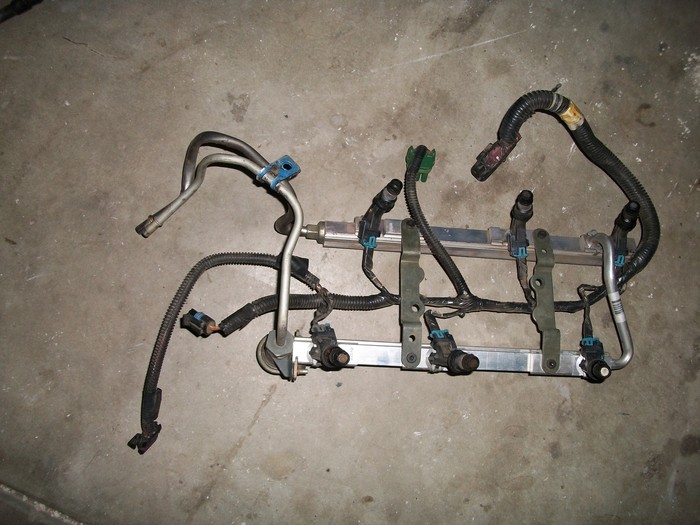
16. Remove the engine fuel vapor harness from the engine.
17. Disconnect the accelerator and cruise cables and bracket from the throttle body.
18. Disconnect the brake vacuum hose at the engine port.
19. Remove the engine mount strut bolts and nuts from the engine.
20. Disconnect the radiator and heater hoses from the engine.
21. Disconnect the A/C manifold from the compressor.
22. Disconnect the fuel feed hoses at the fuel rail.
23. Raise and suitably support the vehicle.
24. Drain the engine oil into a suitable container.
25. Remove the front wheels.
26. Disconnect the engine wiring harness at the front of the frame.
27. Disconnect the electrical wiring at the starter assembly.
28. Remove the flywheel covers from the transaxle.
29. Remove the starter assembly.
30. Matchmark the relationship of the flywheel to the converter, then remove the attaching bolts.
31. Remove the steering shaft pinch bolt from the steering column.
32. Disconnect both outer tie rod ends.
33. Disconnect both lower ball joints from the steering knuckle.
34. Pull both drive axles from the transaxle and wire them up to the body for support. Do not allow the drive axles to hang unsupported.
35. Disconnect the exhaust pipe from the manifold, by removing the manifold bolts and springs.
36. Disconnect the transaxle cooler lines from the transaxle. Plug the lines to avoid getting debris in them.
37. Remove the engine front mount-to-frame retaining nuts.
38. Position a suitable engine/transaxle support table below the assembly, allowing it to rest on the table.
39. Separate the engine/transaxle frame from the vehicle by lowering the table, or by raising the vehicle.
40. Secure the engine/transaxle assembly to the support table, then remove the retaining bolts from the frame assembly.
41. Remove the serpentine belt.
42. Unbolt power steering pump assembly and set it aside. Do not disconnect the fluid lines.
43. Remove the transaxle indicator tube assembly.
44. Remove the engine-to-transaxle brace assembly, the bolts and the stud.
45. Separate the engine from the transaxle/frame and remove it from the table.
Saturday, May 23rd, 2020 AT 4:45 PM
(Merged)