CAMSHAFT TICK NOISE - 3.0L 4V ENGINE ONLY
TECHNICAL SERVICE BULLETIN
Reference Number(s): 06-3-5, Date of Issue: February 20, 2006
FORD:2001-2005 Taurus; 2001-2006 Escape
MERCURY:2001-2005 Sable; 2005-2006 Mariner
Superceded Bulletin(s): 04-20-8, Date of Issue: October 18, 2004
Related Ref Number(s): 04-20-8, 06-3-5
ARTICLE BEGINNING
ISSUE
NOTE:This article supersedes TSB 04-20-8 to update the vehicle model years and Service Procedure.
Some 2001-2005 Taurus/Sable, 2001-2006 Escape and 2005-2006 Mariner vehicles built prior to 1-17-2006 equipped with the 3.0L 4V Duratec engine may exhibit a ticking noise from the left bank cylinder head, with the engine at normal operating temperature only.
ACTION
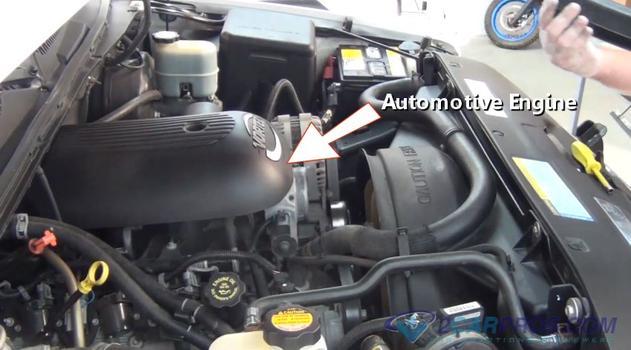
To diagnose, with the engine running and warm (normal operation temperature), using a mechanic's stethoscope determine if the ticking noise is coming from the left hand intake camshaft at cylinder number 6, (Fig. 1 ). If the ticking noise can be verified, refer to the following Service Procedure.
Fig. 1: Locations To Listen For Ticking Noise
SERVICE PROCEDURE
Remove the left bank valve cover. Refer to Workshop Manual, Section 303-01B.
Rotate the engine clock wise until the cylinder number 6 intake cam lobes are pointing up and the valves are fully closed.
Remove all left hand intake cam caps individually and reinstall them finger tight.
NOTE:THE CAMSHAFT CAPS MUST BE COMPLETELY LIFTED OFF AND THEN SET BACK INTO POSITION. LOOSENING AND RE-TORQUING CAP BOLTS IS NOT SUFFICIENT.
Torque bolts in sequence shown in Fig. 2 to 72 lb-in (8 N.M) excluding cam cap number 8L camshaft cap.
Fig. 2: Cam Cap Bolt Torque Sequence
Using a screw driver positioned on each side of the top of cam cap number 8L (Fig. 3 ) apply hand pressure and shift cam cap number 8L toward the exhaust side of the cylinder head.
Fig. 3: Torquing Cam Cap Number 8L
While holding cam cap number 8L in the shifted position, torque the fasteners number 9 (inboard) first, to 72 lb-in (8 N.M) then torque fastener number 10 (Fig. 3 ).
Install the left hand camshaft cover. Refer to appropriate Workshop Manual, Section 303-01.
Fully warm the engine to normal operating temperature to verify the repair.
WARRANTY INFORMATION
WARRANTY STATUS: Eligible Under Provisions Of New Vehicle Limited Warranty Coverage.
SPONSORED LINKS
Friday, December 5th, 2008 AT 12:25 PM