Here is the instructions for trans axle R&R and a video of the job being done on a similar car (the process is the same)
https://youtu.be/6N6b5F2ChyE
Transaxle Unit Dismounting and Remounting
Dismounting
Under hood
1. Disconnect battery ground cable.
2. Remove clutch operating cylinder from T/M with hose still attached.
3. Remove gear control cables.
4. Remove water intake pipe bolts.
5. Undo wiring harness clamps and connectors.
6. Remove ground cable from T/M.
7. Remove starting motor taking out its bolt and nut.
8. Remove transaxle fastening bolts.
9. Support engine by using lifting device.
On lift
1. Drain transaxle oil.
2. Remove engine under covers.
3. Remove exhaust No.1 pipe and exhaust No.2 pipe.
4. Remove lower stiffener.
5. Remove ball stud bolt form right and left knuckles, then disconnect each suspension arm.
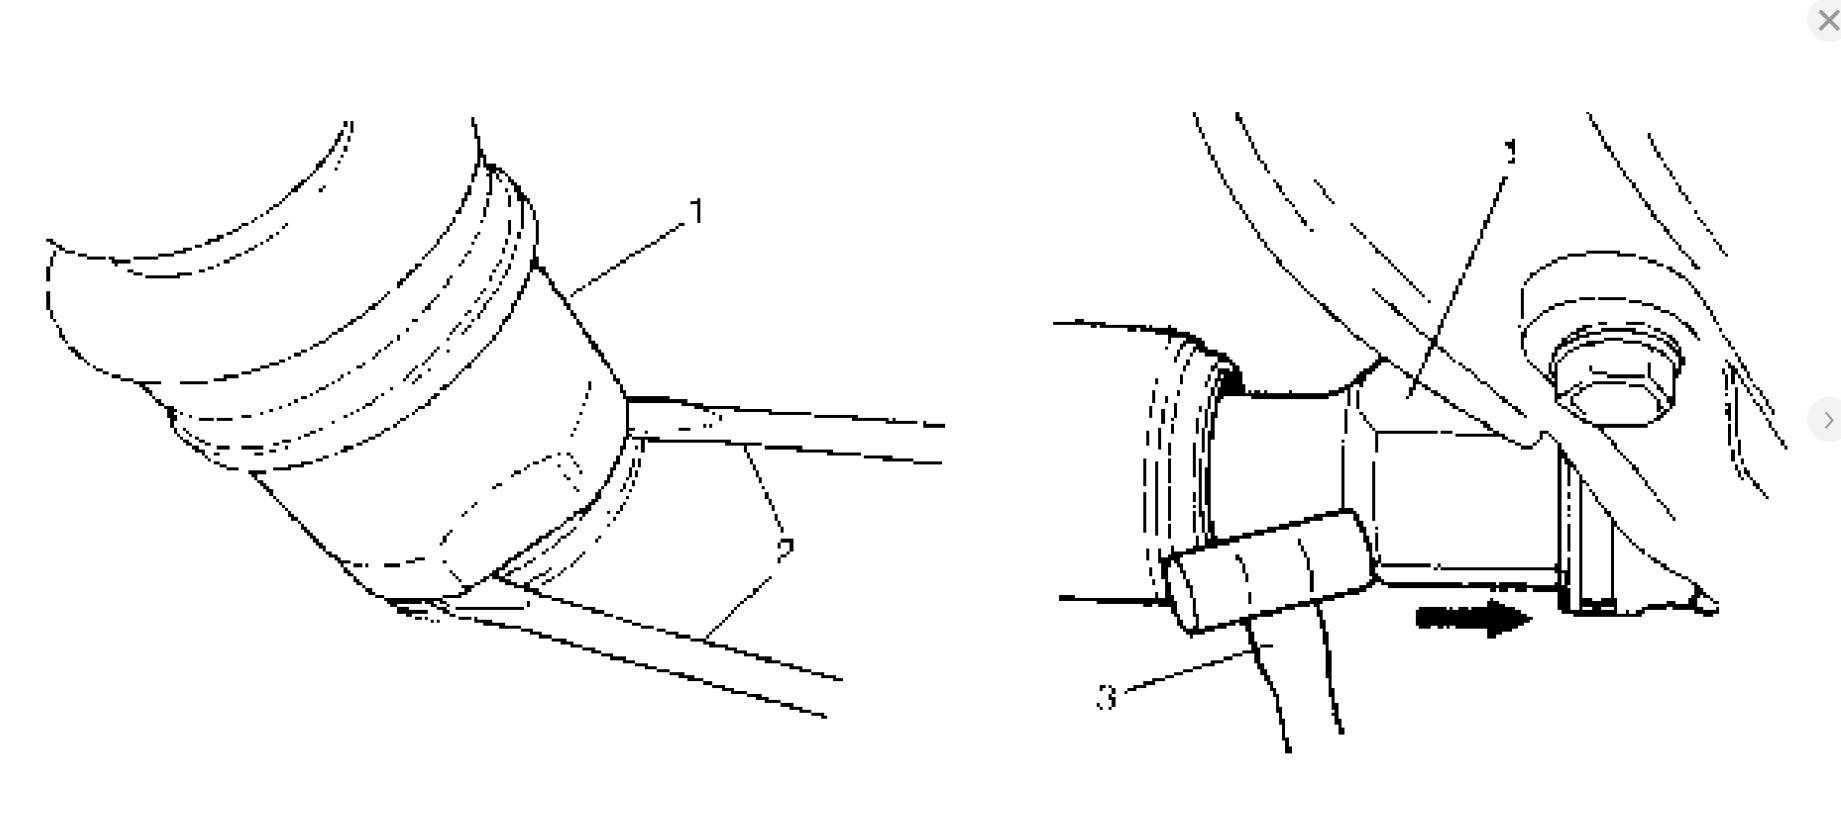
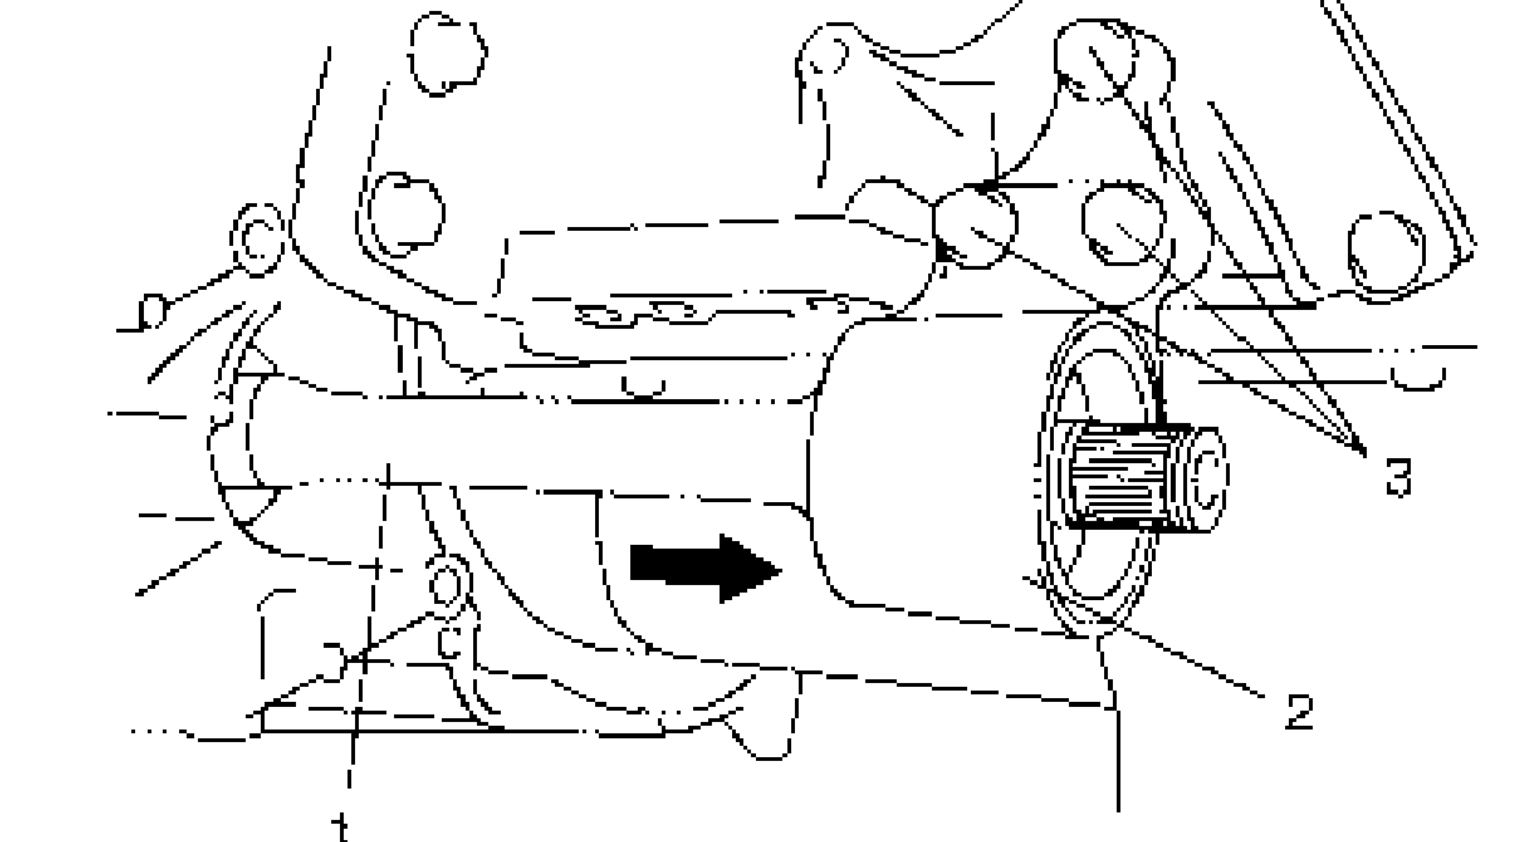
6. Using flat head rod or the like (2), pull out drive shaft joint (1) at differential side so as to release snap ring fitting of joint (for LH drive shaft). Using plastic hammer (3), drive out drive shaft joint so as to release snap ring fitting of joint spline at center shaft (for RH drive shaft).
7. Remove center shaft support bolts (3) and remove center shaft support (2) with center shaft (1) from differential side gear.
8. Remove dynamic damper from engine rear mounting No.1 bracket.
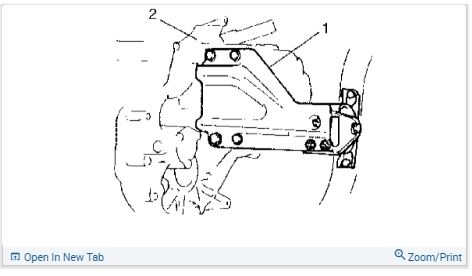
9. Remove engine rear mounting from its bracket.
10. Remove engine rear mounting No.1 bracket with No.2 bracket.
11. Remove transaxle to engine bolts and nut.
12. Lower vehicle and support transaxle (2) with transmission jack.
13. Remove engine LH mounting with bracket (1).
14. Remove other attached parts from transaxle, if any.
15. Pull transaxle out so as to disconnect input shaft from clutch disc and then lower it.
Remounting
CAUTION:
Care should be taken not to scratch oil seal lip with drive shaft while raising transaxle.
Do not hit drive shaft joint with hammer when installing it into differential gear. For remounting, reverse dismounting procedure noting the following.
Push in drive shaft joints fully so as to engage snap ring of shaft with differential gear or center shaft.
Set each clamp for wiring securely.
Fill transaxle with oil as specified.
Connect battery and check function of engine, clutch and transaxle.
Images (Click to make bigger)
SPONSORED LINKS
Thursday, August 5th, 2010 AT 8:51 PM