REMOVAL PROCEDURE
Caution: Before servicing any electrical component, the ignition key must be in the OFF or LOCK position and all electrical loads must be OFF, unless instructed otherwise in these procedures. If a tool or equipment could easily come in contact with a live exposed electrical terminal, also disconnect the negative battery cable. Failure to follow these precautions may cause personal injury and/or damage to the vehicle or its components.
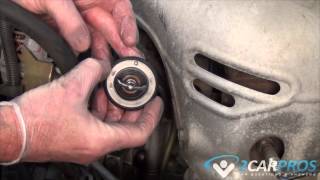
Disconnect the battery negative cable.
Remove the upper radiator covers:
Release the self-locking tabs.
Remove the cover screws.
Remove the covers.
Drain the engine coolant.
Remove the intake air resonator chamber.
Disconnect the electrical connectors at the following locations:
The primary cooling fan
The cooling fan control switches
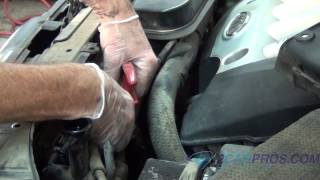
Remove the radiator air bleed hose from the radiator.
Remove the transmission oil cooler pipe fittings and seals from the radiator.
Position the pipes away from the radiator.
Remove the coolant hose from the secondary auxiliary coolant pump.
Remove the secondary AIR cut-off valve bracket bolts from the fan housing.
Remove the condenser-to-radiator bracket bolts (1).
Remove the radiator inlet/outlet hoses from the radiator.
Disconnect the secondary auxiliary coolant pump connector.
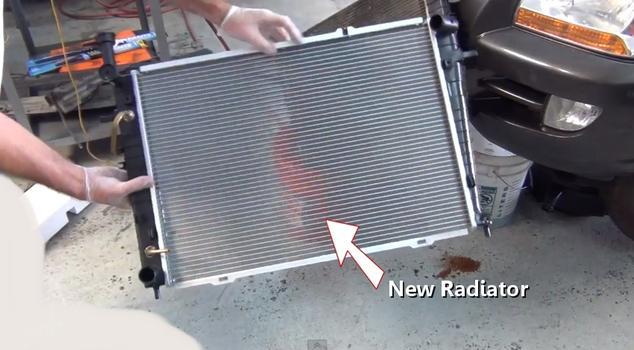
Lift and rock the radiator and primary fan together in order to unseat the upper and lower retainers.
Remove the radiator and the primary fan together from the radiator support.
Remove the primary fan bolts, if necessary.
Remove the primary fan from the radiator.
Remove the cooling fan control switches, if necessary.
INSTALLATION PROCEDURE
Install the cooling fan control switches, if removed.
Install the primary fan to the radiator, if removed:
Engage the tab.
Install the bolts.
Notice: Refer to Fastener Notice in Service Precautions.
Tighten the bolts to 4 Nm (35 inch lbs).
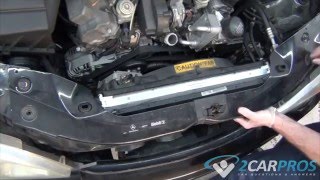
Install the radiator and primary fan together to the radiator support:
Engage the upper retainers in the radiator support brackets.
Engage the tabs on the bottom of the radiator in the lower retainers.
Connect the secondary auxiliary coolant pump connector.
Install the radiator inlet/outlet hoses to the radiator.
Install the condenser-to-radiator bracket bolts (1) until fully seated and not stripped.
Install the secondary AIR cut-off valve bracket to the fan housing.
Install the bracket bolts.
Tighten the bolts to 4 Nm (35 inch lbs).
Install the coolant hose to the secondary auxiliary coolant pump.
Install the transmission oil cooler pipe fittings and seals to the radiator.
Tighten the fittings to 25 Nm (18 ft lbs).
Install the radiator air bleed hose to the radiator.
Connect the electrical connectors at the following locations:
The primary cooling fan
The cooling fan control switches
Install the intake air resonator chamber.
Fill the cooling system.
Install the upper radiator covers:
Position the covers.
Insert the self-locking tabs.
Install the cover screws.
Connect the battery negative cable and reprogram all applicable accessories.
Good luck. It is a pain to do these.
Roy
SPONSORED LINKS
Saturday, March 31st, 2012 AT 4:07 AM