Disconnect negative battery cable. Remove cross brace from strut towers. Reinstall inboard strut nuts. Remove air intake duct. Disconnect cruise control cable from throttle body and cruise control servo. Disconnect shift cable from transaxle.
Disconnect vacuum hoses and electrical connectors as necessary. Remove fuel line retainers. Remove 3 top transaxle-to-engine bolts. Support engine from top using Engine Support Fixture (J-28467). Slightly lift engine/transaxle assembly just enough to take pressure off of mounts. Turn steering wheel to full left position.
Raise and support vehicle on hoist. Remove front wheels. Separate both lower ball joints from steering knuckle. See BALL JOINT under REMOVAL & INSTALLATION in appropriate article in SUSPENSION. Remove right drive axle from transaxle (DO NOT remove axle from hub/knuckle assembly). See FWD AXLE SHAFTS article in DRIVE AXLES.
Remove left drive axle from transaxle and hub/knuckle assembly. Support transaxle. On Eldorado and Seville, remove power steering return line bracket and ABS pump from bracket. On all models, remove left front transaxle mount. Remove torque strut bracket from transaxle, if equipped.
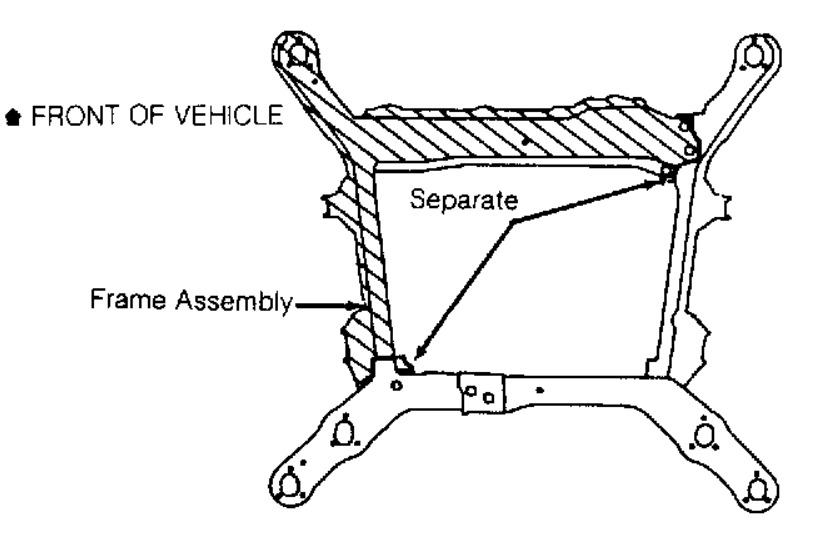
Remove left rear transaxle mount-to-transaxle bolts. Remove transaxle brace from engine bracket. Remove stabilizer bar from control arm. Remove flexplate cover. Remove flexplate-to-converter bolts. Remove bolts attaching rear frame-to-front frame member. See Fig. 1. Remove left frame-to-body bolts.
Remove right front frame member bolts. Swing frame assembly down and aside, then support with jack stand. Disconnect fluid cooler lines from transaxle. Remove remaining transaxle-to-engine bolts. Ensure all wiring harness connectors and hoses are disconnected. Lower transaxle from vehicle.
NOTE:One transaxle-to-engine bolt is installed from the engine side. It may be necessary to use access hole located in right fenderwell and a 3-foot extension to reach bolt for removal
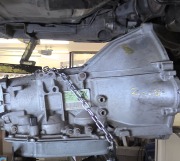
see pic
Image (Click to make bigger)
SPONSORED LINKS
Saturday, November 23rd, 2013 AT 6:03 AM