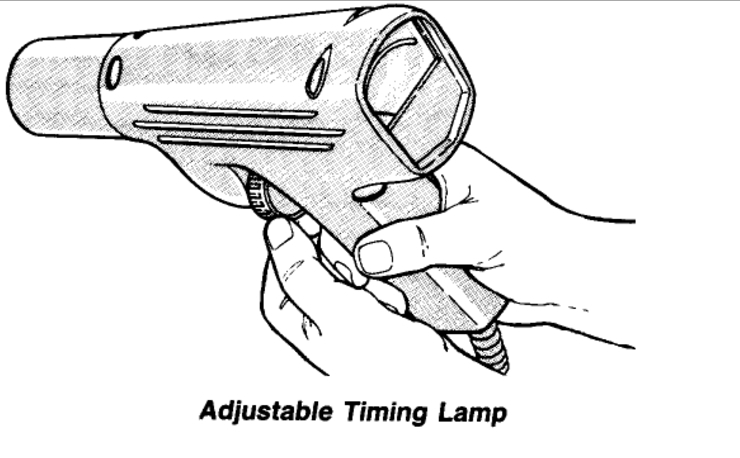
You must get a timing light before you begin. Check the diagrams (Below)
IGNITION TIMING PROCEDURE
To obtain optimum engine performance, distributor must be correctly positioned on engine to give proper ignition timing.
Test procedures are as follows:
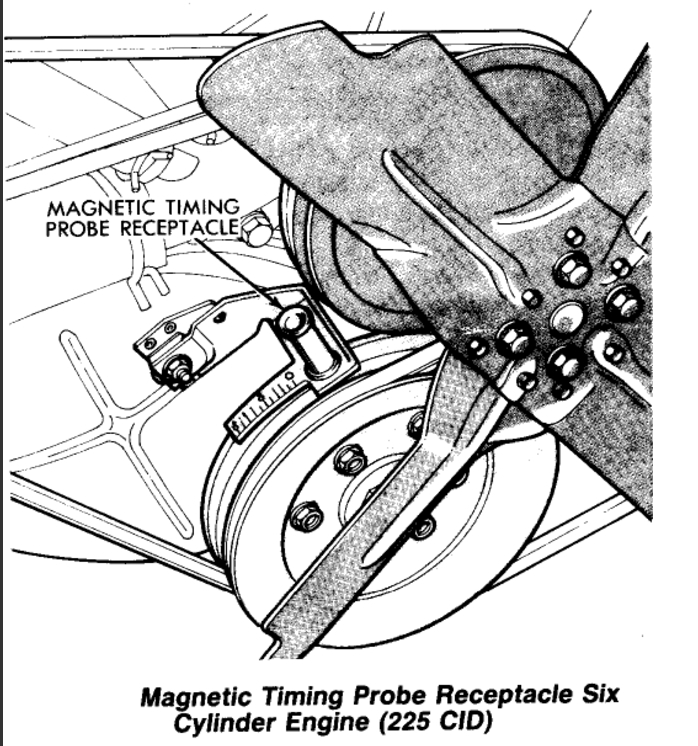
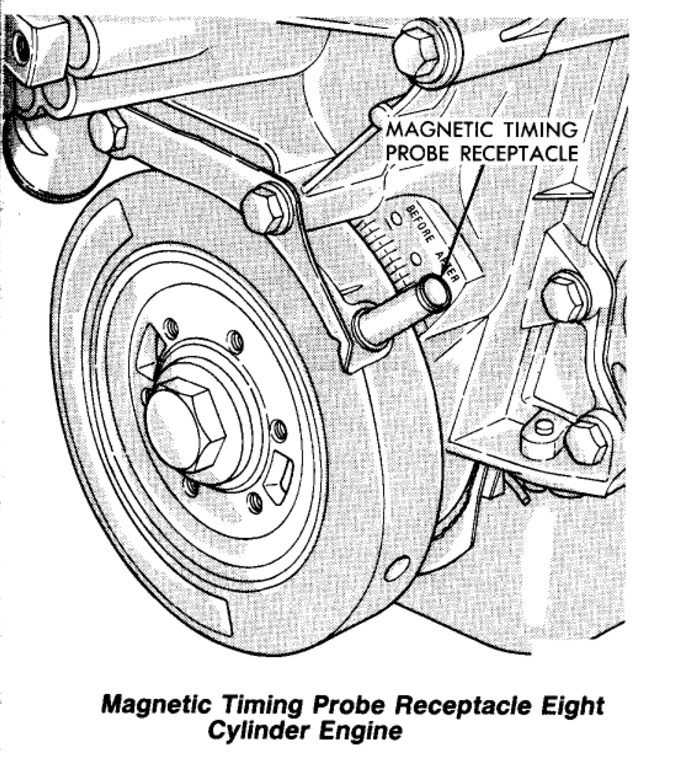
(1) Connect a suitable Power Timing Light to number one cylinder (refer to equipment manufacturer's instructions for correct connecting procedures) or a suitable magnetic timing unit (use a 1O°offset when required).
NOTE; Do not puncture cables, boots or nipples with test probes. Always use proper adapters. Puncturing spark plug cables with a probe will damage cables. Probe can separate conductor and cause high resistance. In addition breaking rubber insulation may permit secondary current to arc to ground.
(2) Connect red lead of test tachometer unit to negative primary terminal of the coil and black lead to a good ground.
(3) Turn selector switch to appropriate cylinder position.
(4) Start engine, set parking brake, place transmission in neutral and run until normal operating temperature is obtained.
(5) With engine at normal operating temperature (off fast idle), momentarily open throttle and release to make sure there is no bind in linkage and that idle speed screw is against its stop.
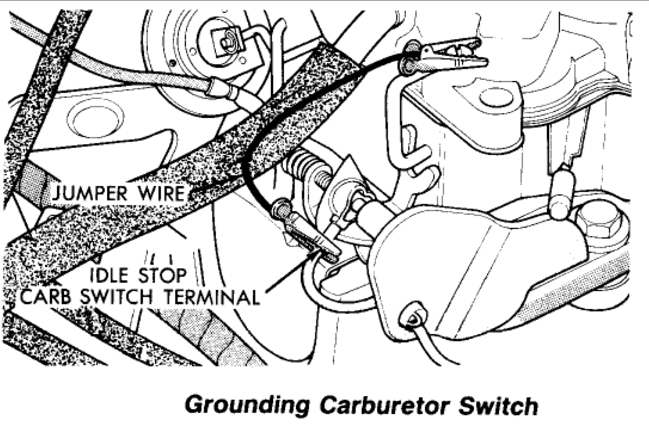
(6) On vehicles equipped with a carburetor switch, connect a jumper wire between carburetor switch and ground. On vehicles not equipped with an SCC, disconnect and plug vacuum line at distributor.
(7) Read engine rpm on 1000 rpm scale. If engine rpm is at or below curb idle specified on underhood label proceed to next step. If it is higher, turn idle speed screw until specified curb idle rpm is reached.
(8) Aim Power Timing light at timing plate on chain case cover, or read magnetic timing unit. If timing is within +20 of value specified on under hood label, proceed to Step (9). If outside of specified tolerance, proceed to next step.
(9) Loosen distributor hold-down arm screw just enough so distributor housing can be rotated in its mounting. Turn distributor housing until specified underhood label value is reached.
If lamp flash occurs when timing mark on vibration damper is located before specified degree mark on timing plate in direction of engine rotation, timing is advanced. To adjust, turn distributor housing in direction of rotor rotation.
If flash occurs when vibration timing mark is located after specified degree mark in direction of engine rotation, timing is retarded.
CAUTION: Do not use distributor vacuum advance chamber as a turning handle when turning distributor.
(10) Tighten distributor hold-down arm screw after timing has been set and recheck Curb Idle Rpm and the timing. If both the Curb Idle Rpm and timing are within specifications, timing is correct. If engine rpm is not at or below curb idle rpm shown on underhood label, reset engine rpm and recheck timing. Repeat above until both engine rpm and timing are acceptable.
(11) Remove timing lamp or magnetic timing unit. If an "Idle Speed Adjustment" is being performed, refer to "Idle Speed Adjustment". If not, proceed to next step.
(12) If curb idle rpm is not within ±50 rpm of value shown on underhood label readjust curb idle rpm. Do not reset timing.
(13) Turn engine off. Unplug and reconnect vacuum line at distributor, if disconnected. Remove jumper wire (if installed) and tachometer.
Here are the diagrams (Below)
Please use 2CarPros anytime, we are here to help. Tell a friend please.
Cheers,
Images (Click to enlarge)
Jul 3, 2011 at 1:20 PM